Here’s a straight-forward step by step guide on how to Install Magento Community Edition 1.7.0.2
We are always happy to answer any questions you may have. Let’s begin!
Install Magento on Server
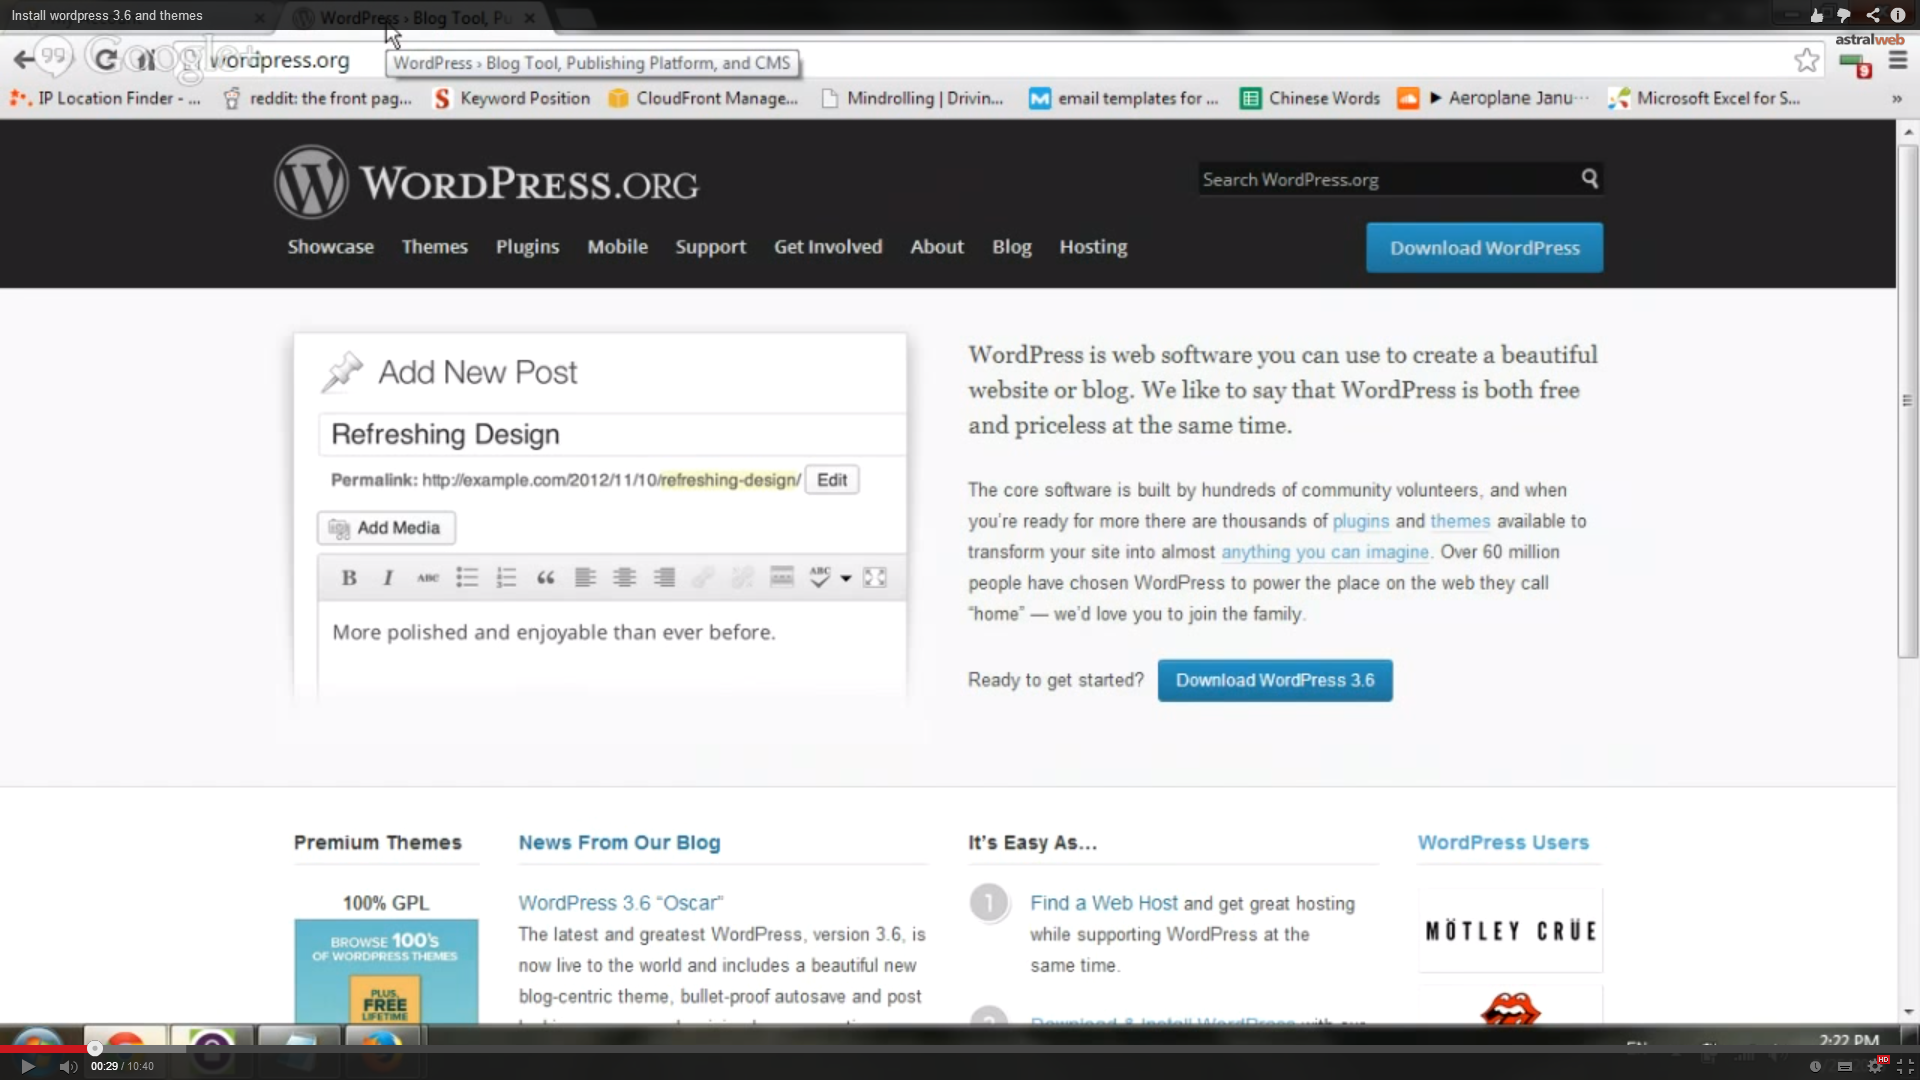
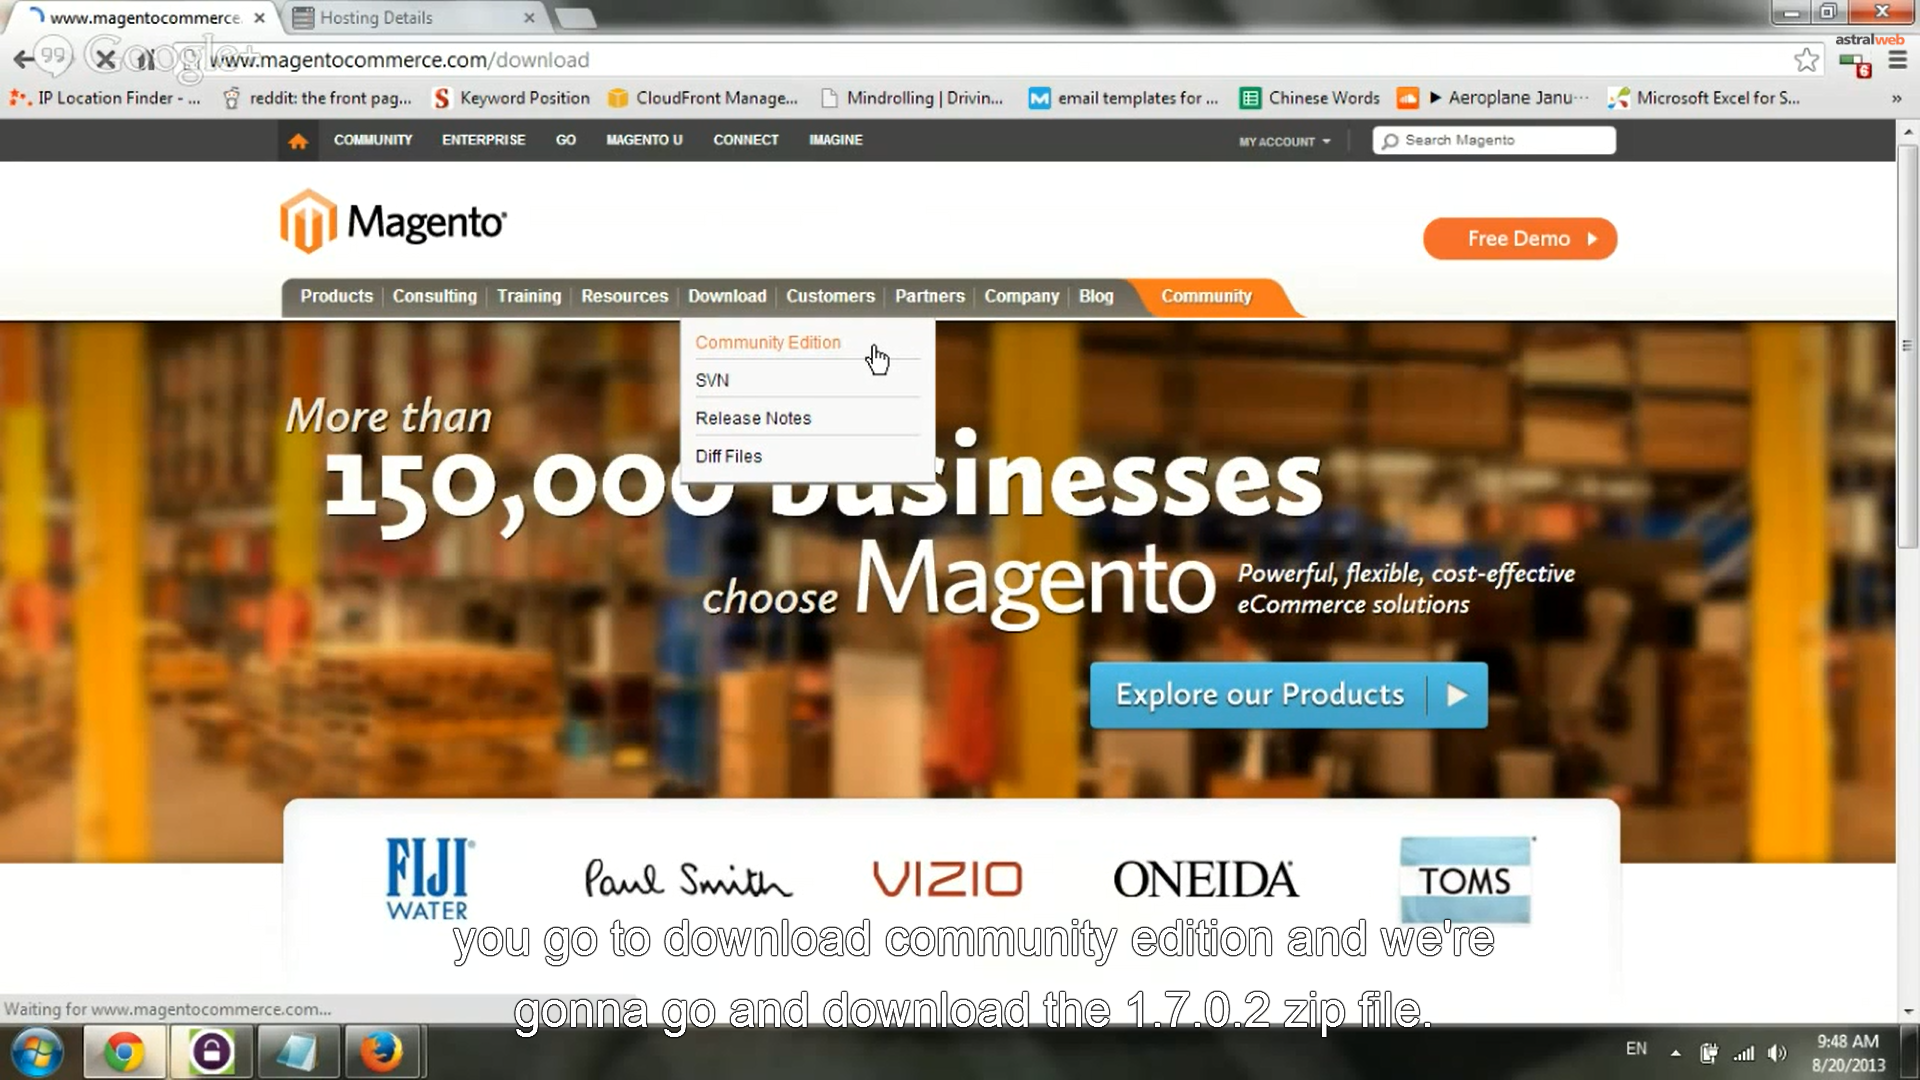
Step 1: Download Magento Community Edition
Go to magentocommerce.com and download full release of community edition.
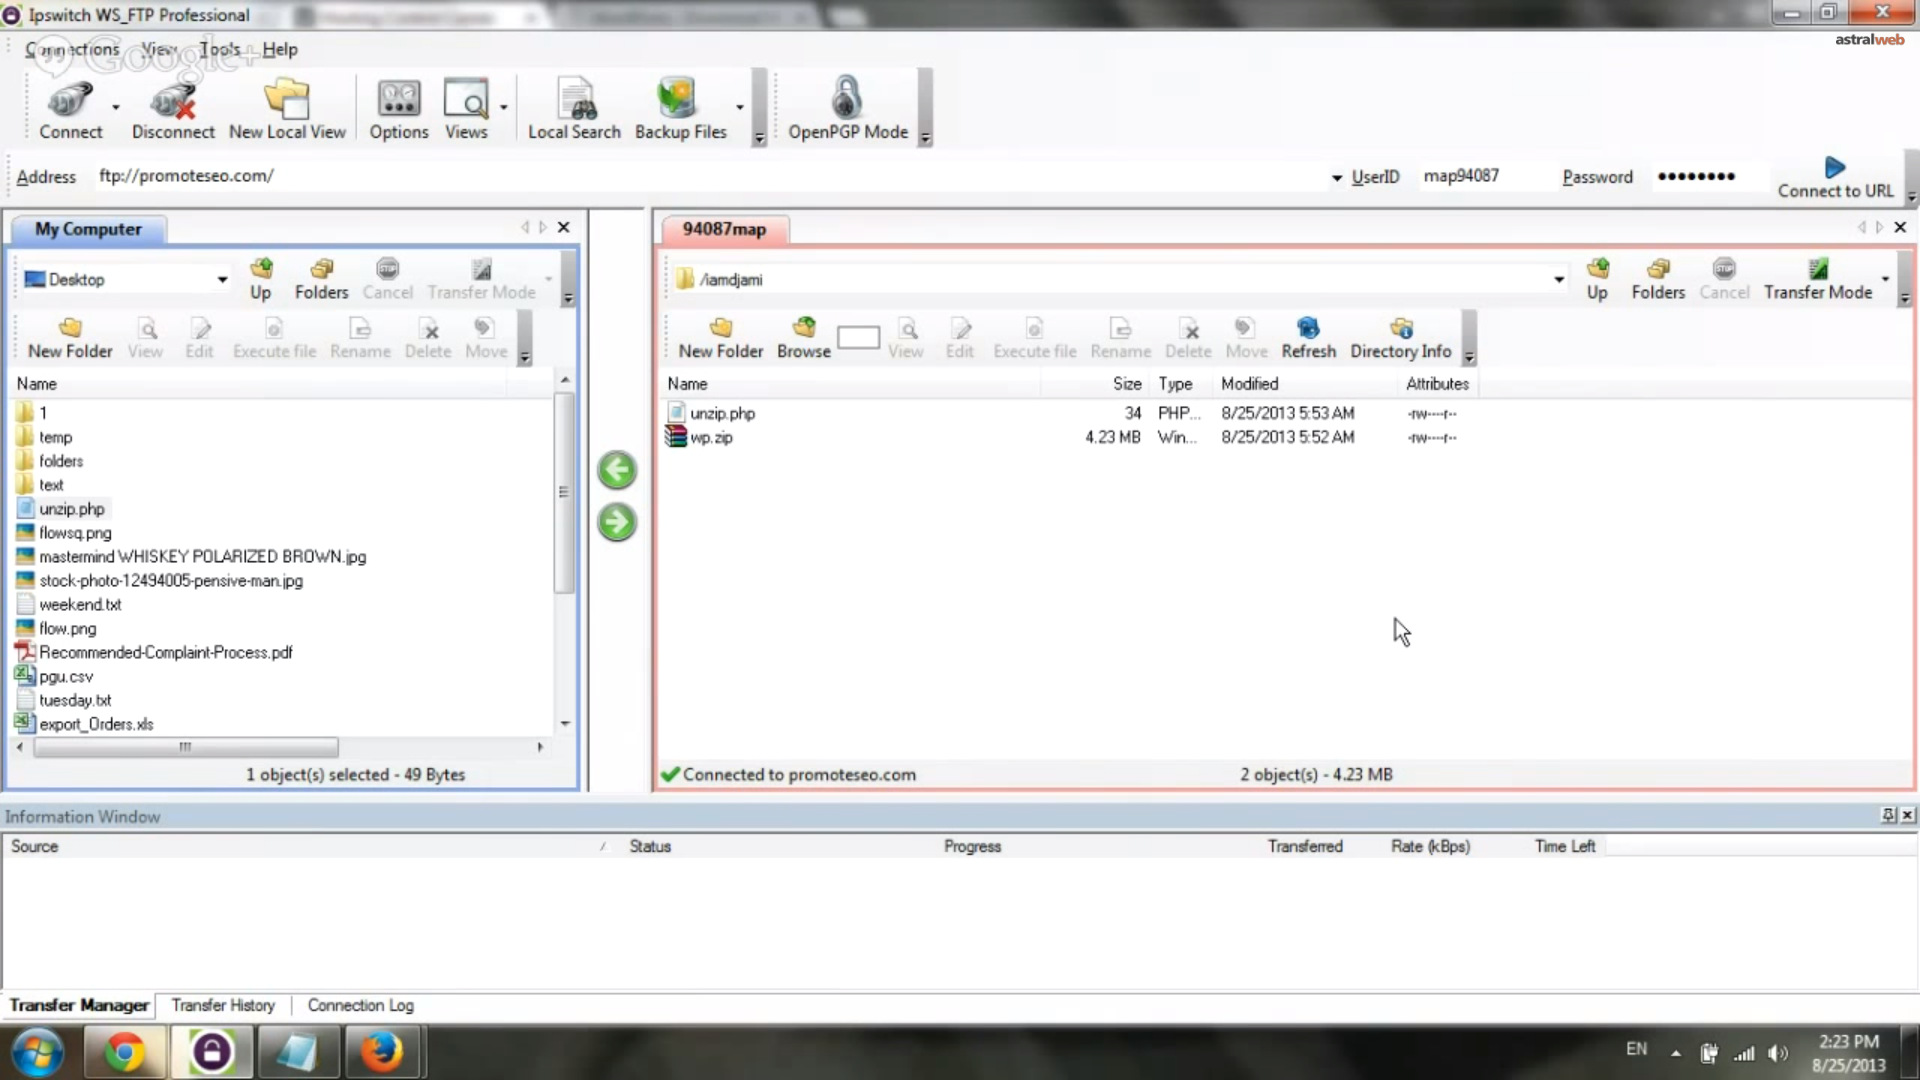
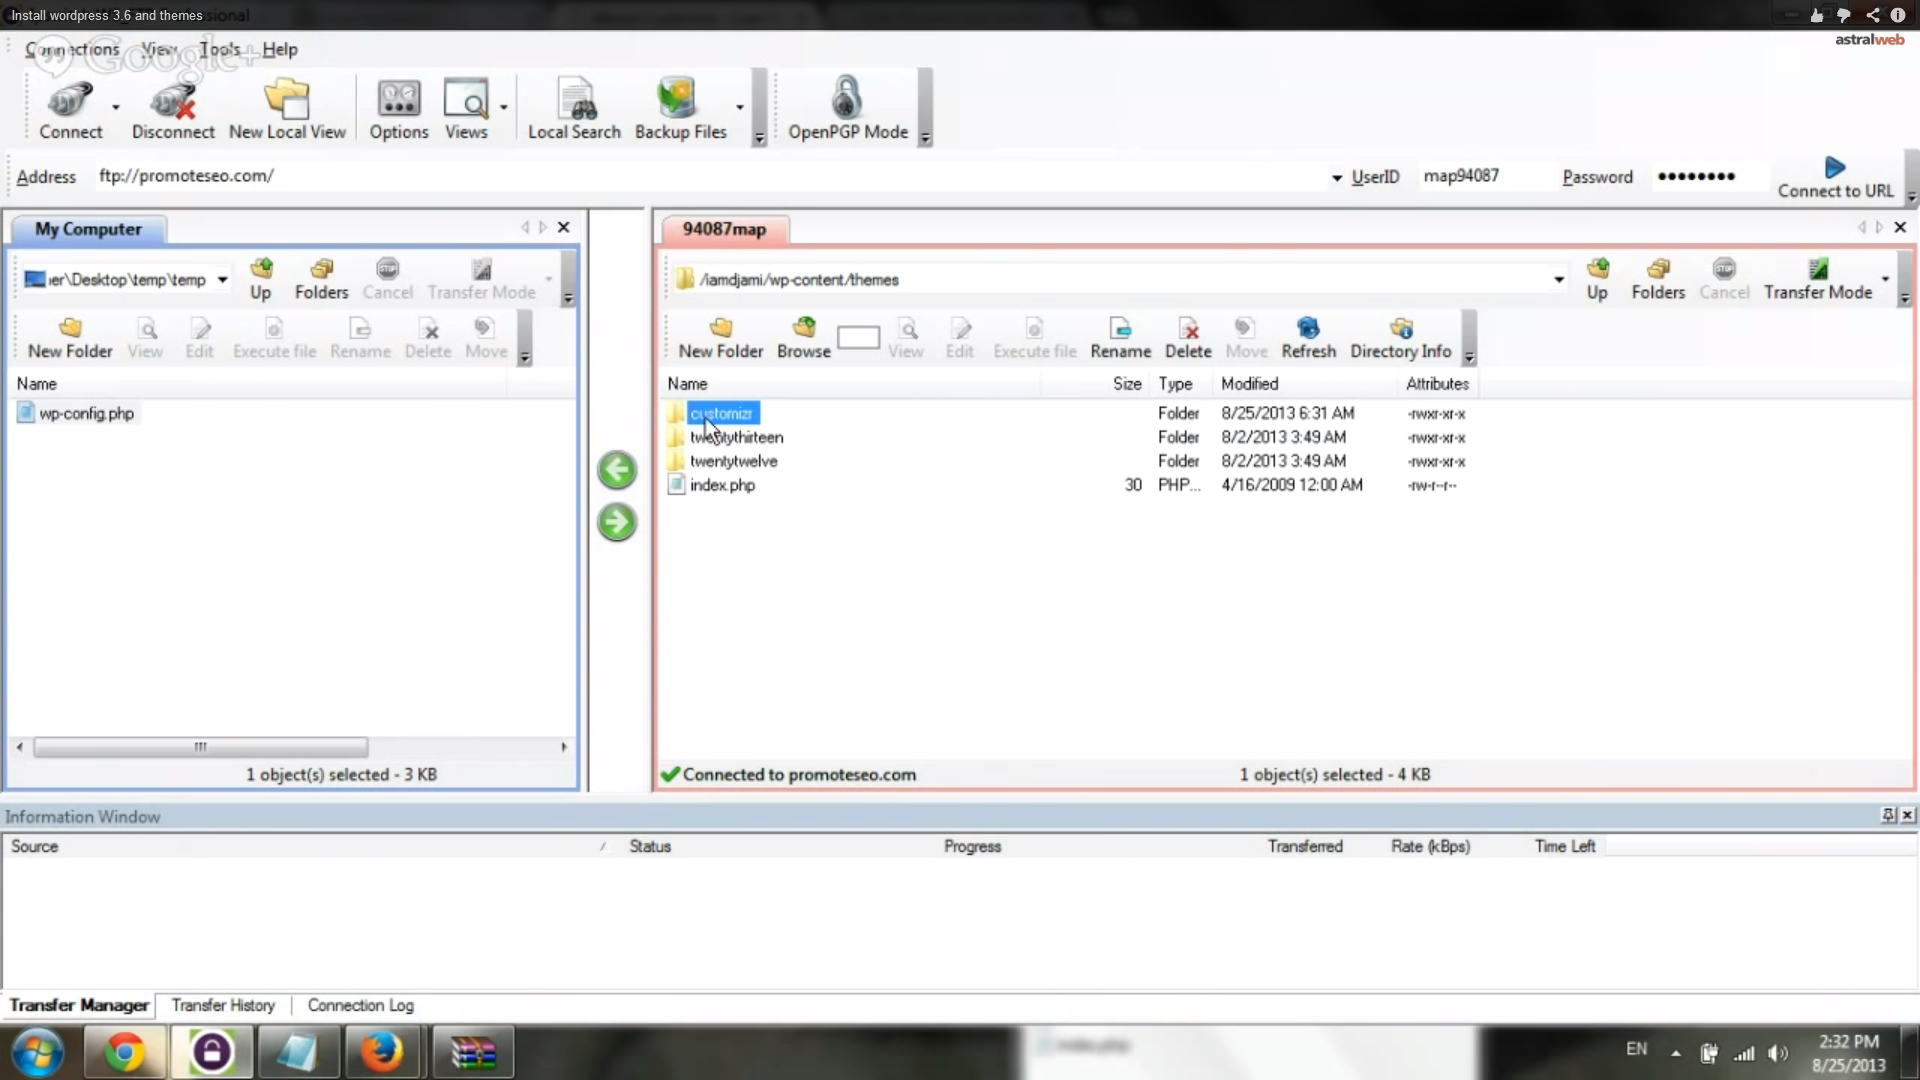
Step 2: Upload Magento to Server
Use your favorite FTP client to upload the files to your server. You’ll have to unzip it in order to save time.
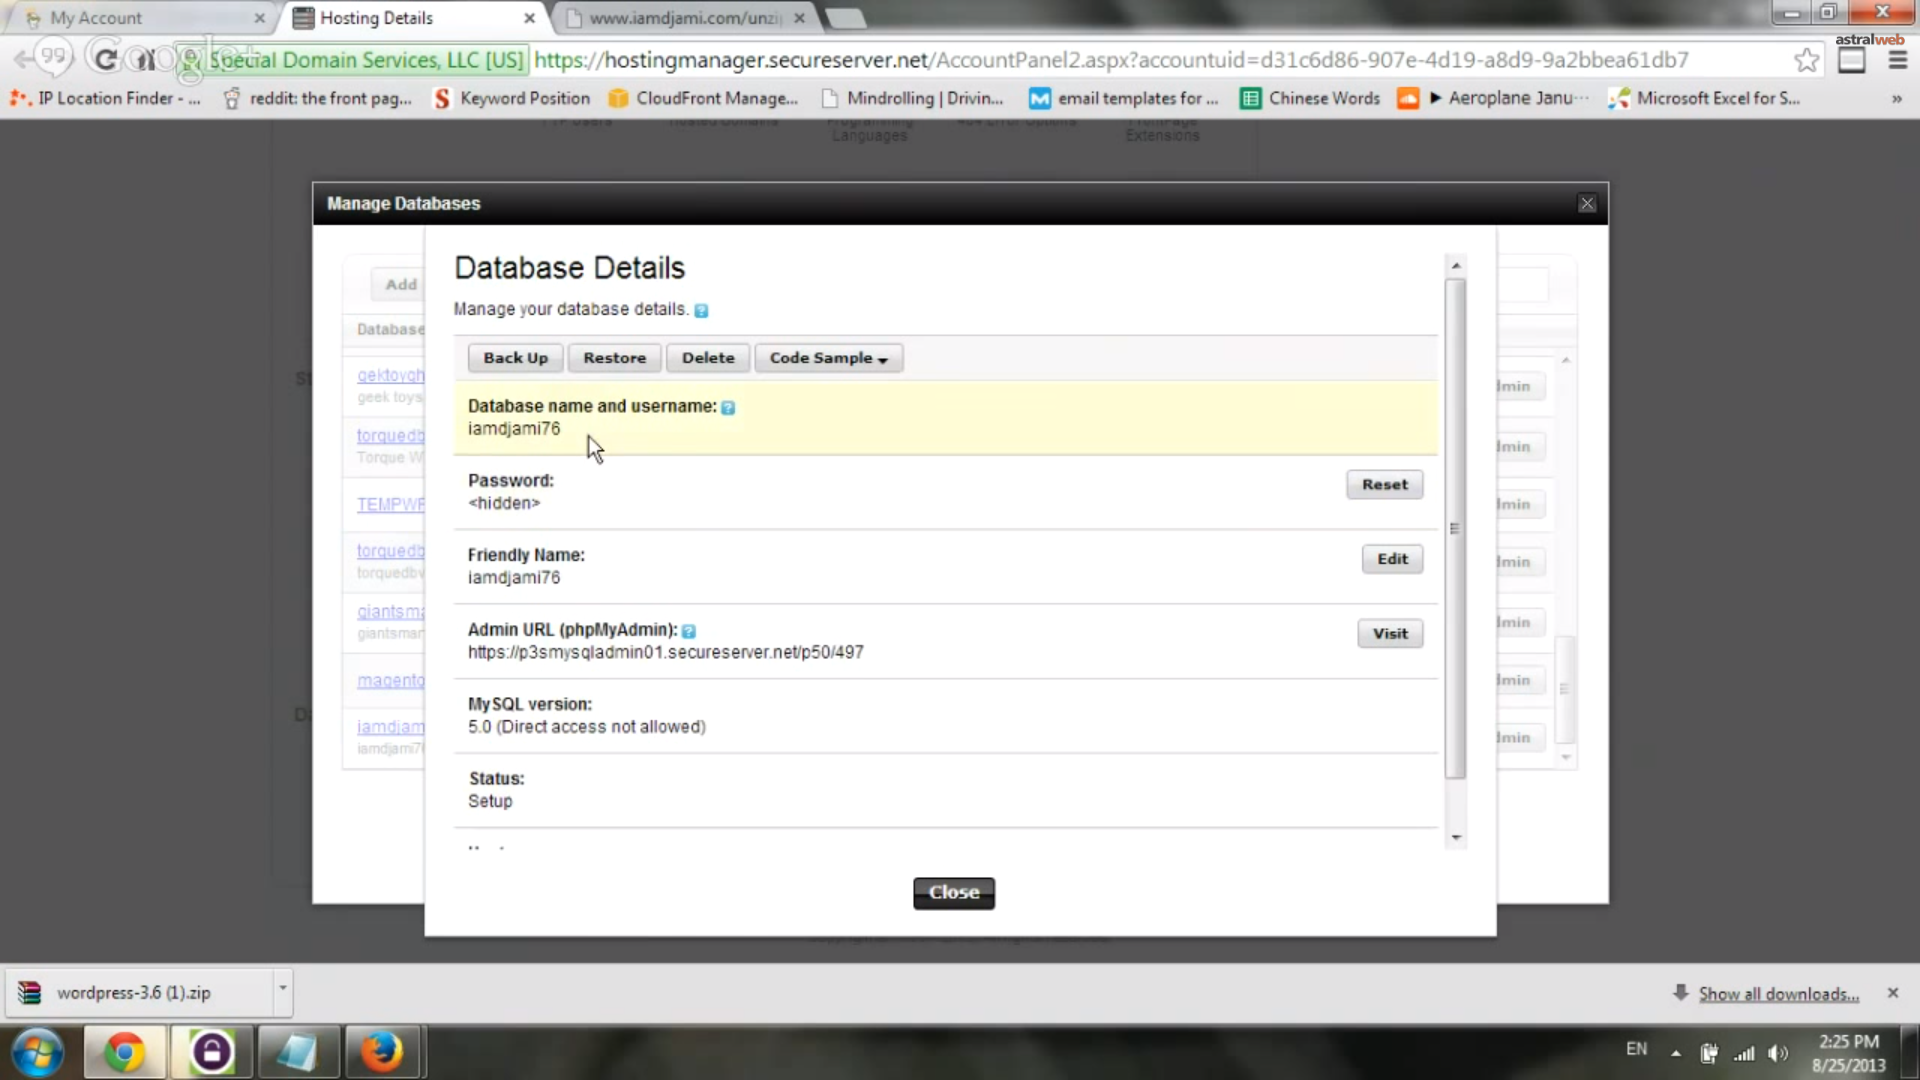
Step 3: Setup MYSQL Database
Go to your hosting database section and add a new database. Don’t forget to write down your login information.
* username, password, database name, hostname
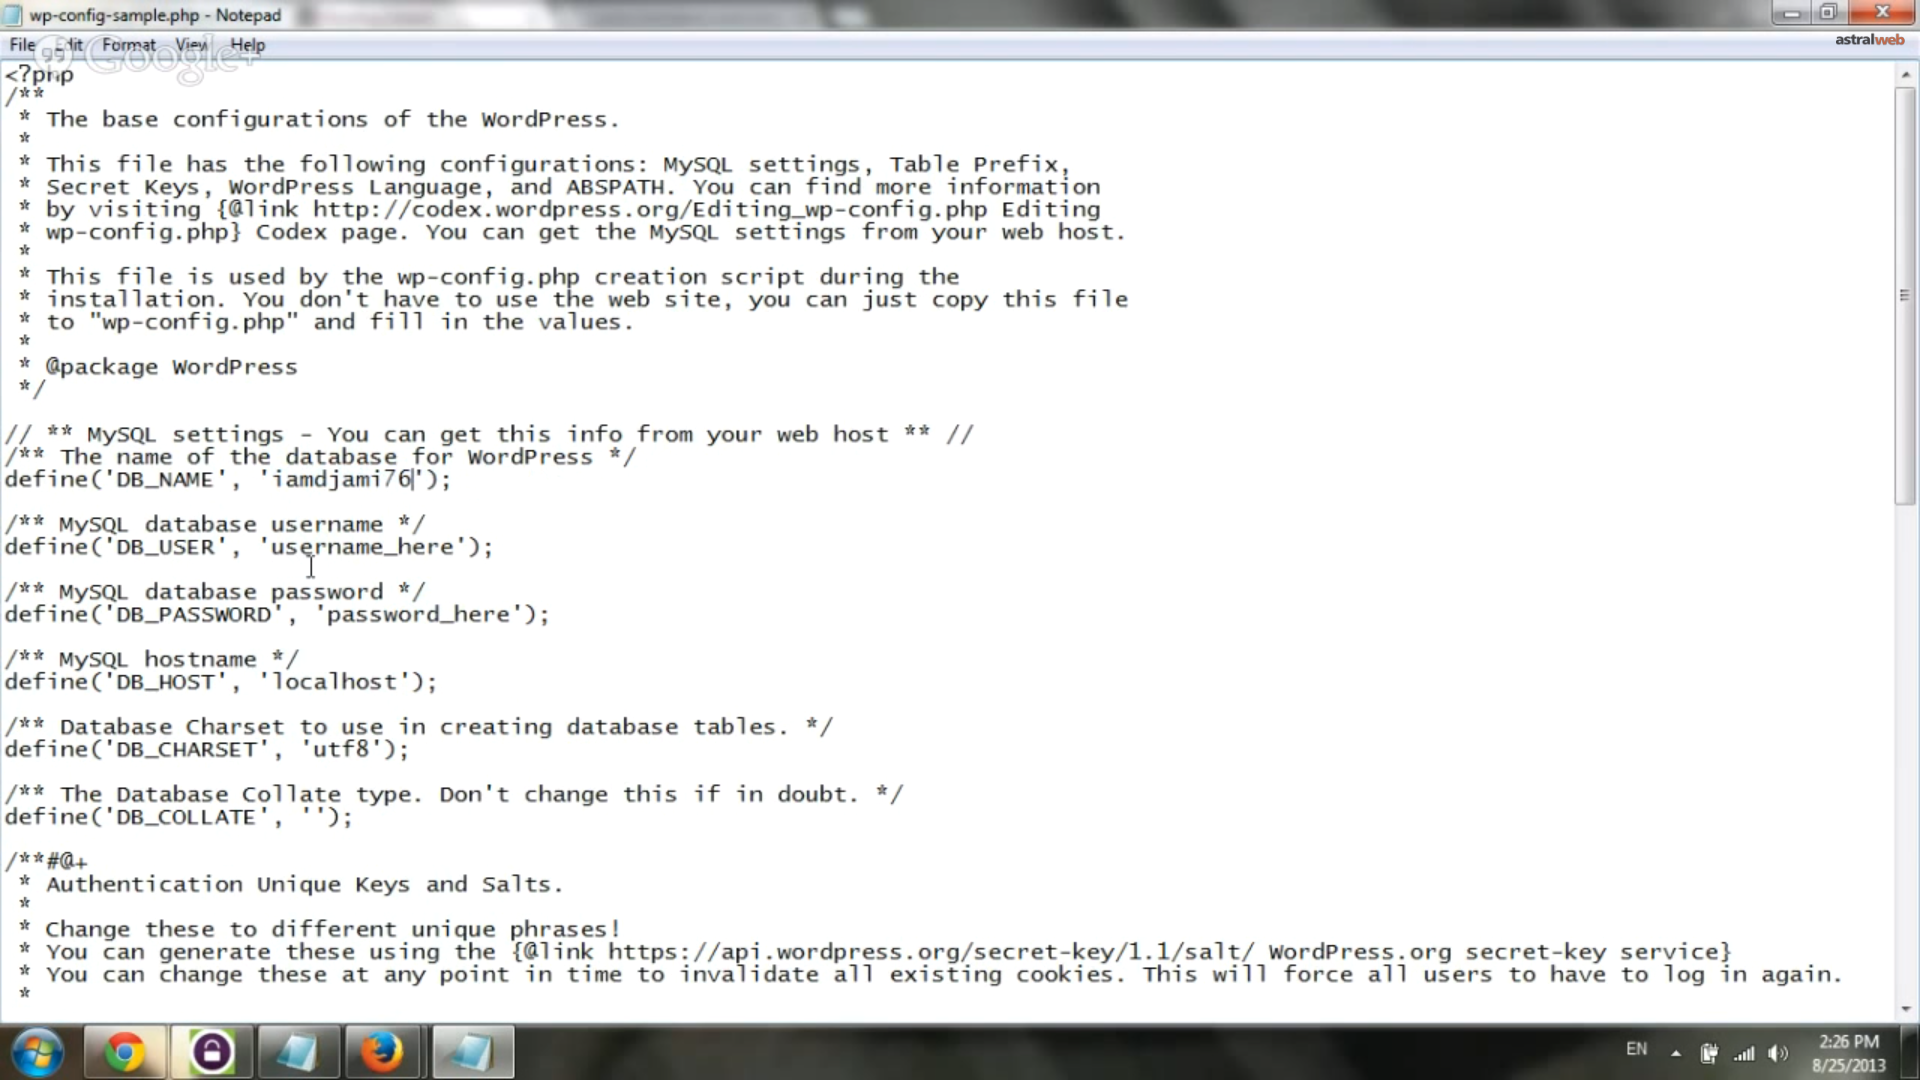
Step 4: Start Installing from browser
Go to your browser and visit the url of server you have placed magento on.
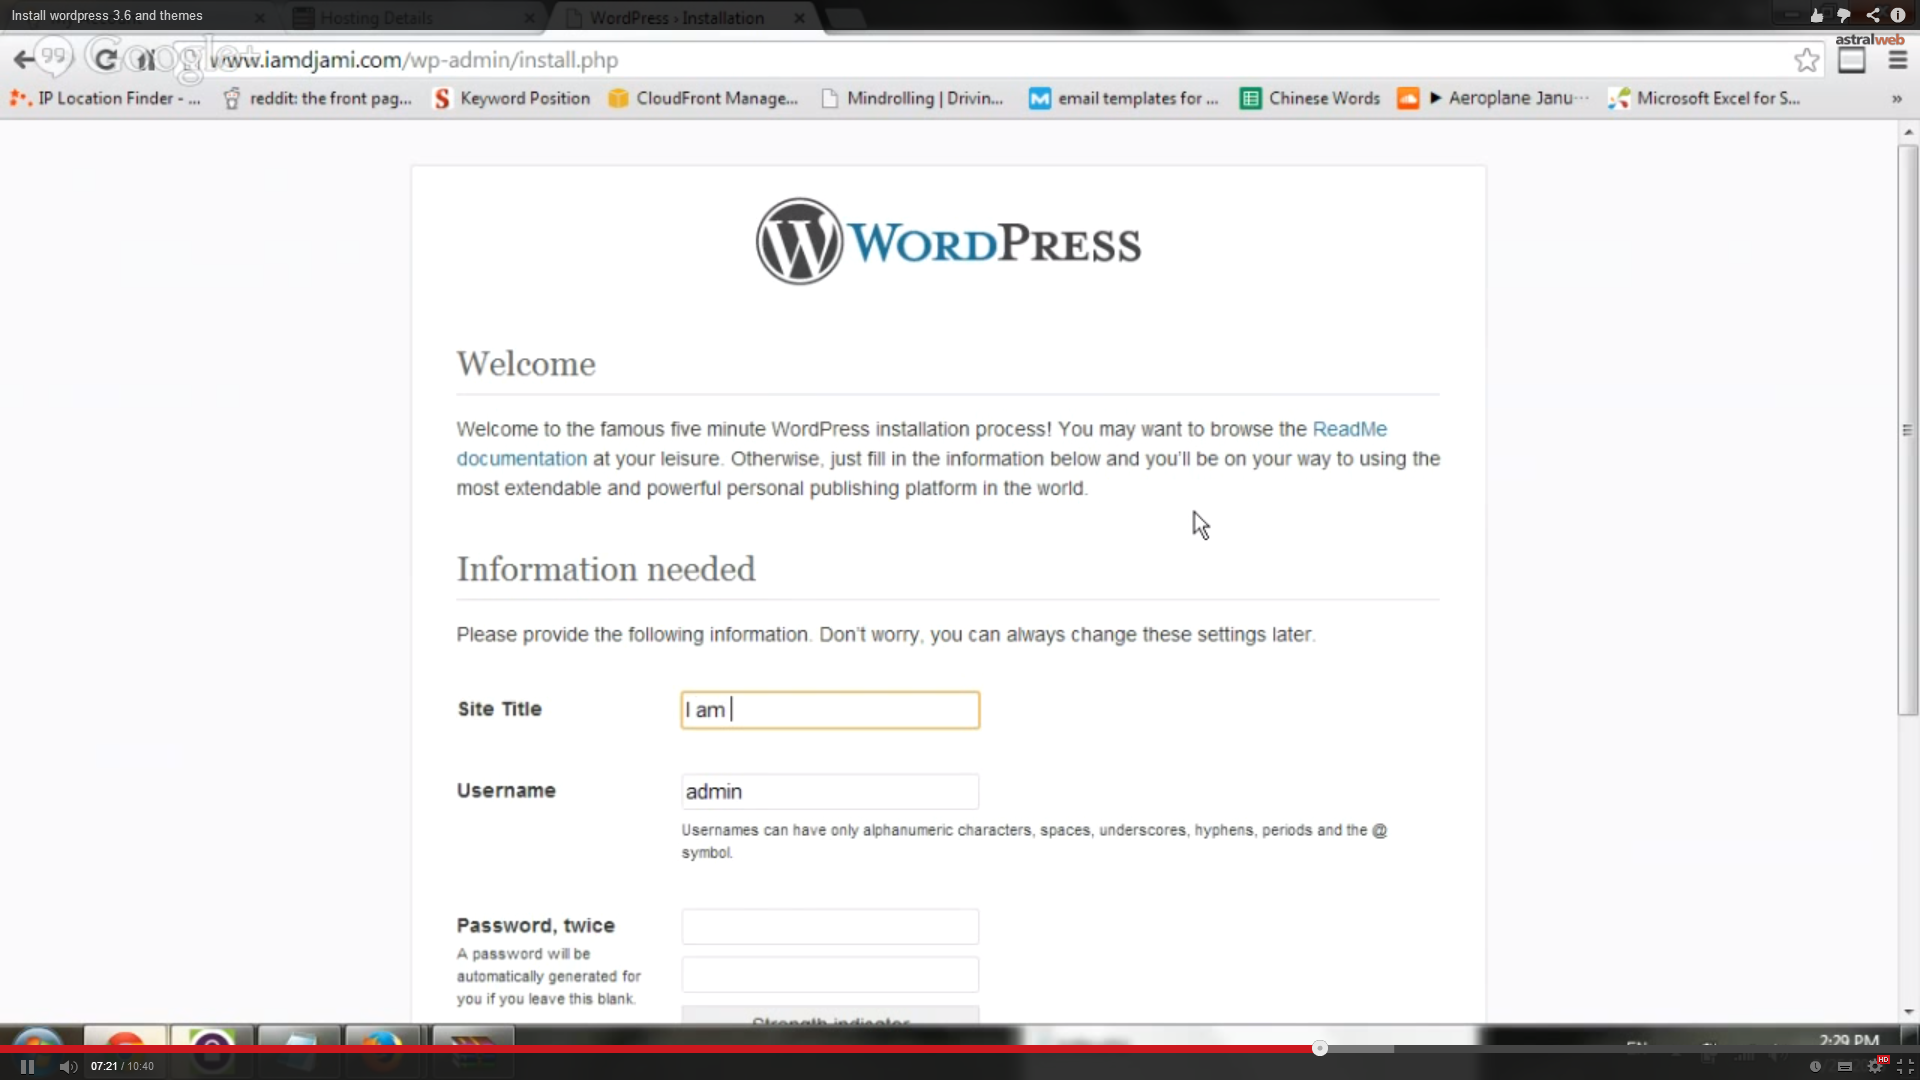
You will arrive to a setup screen. Fill out all information and don’t forget your username and password.
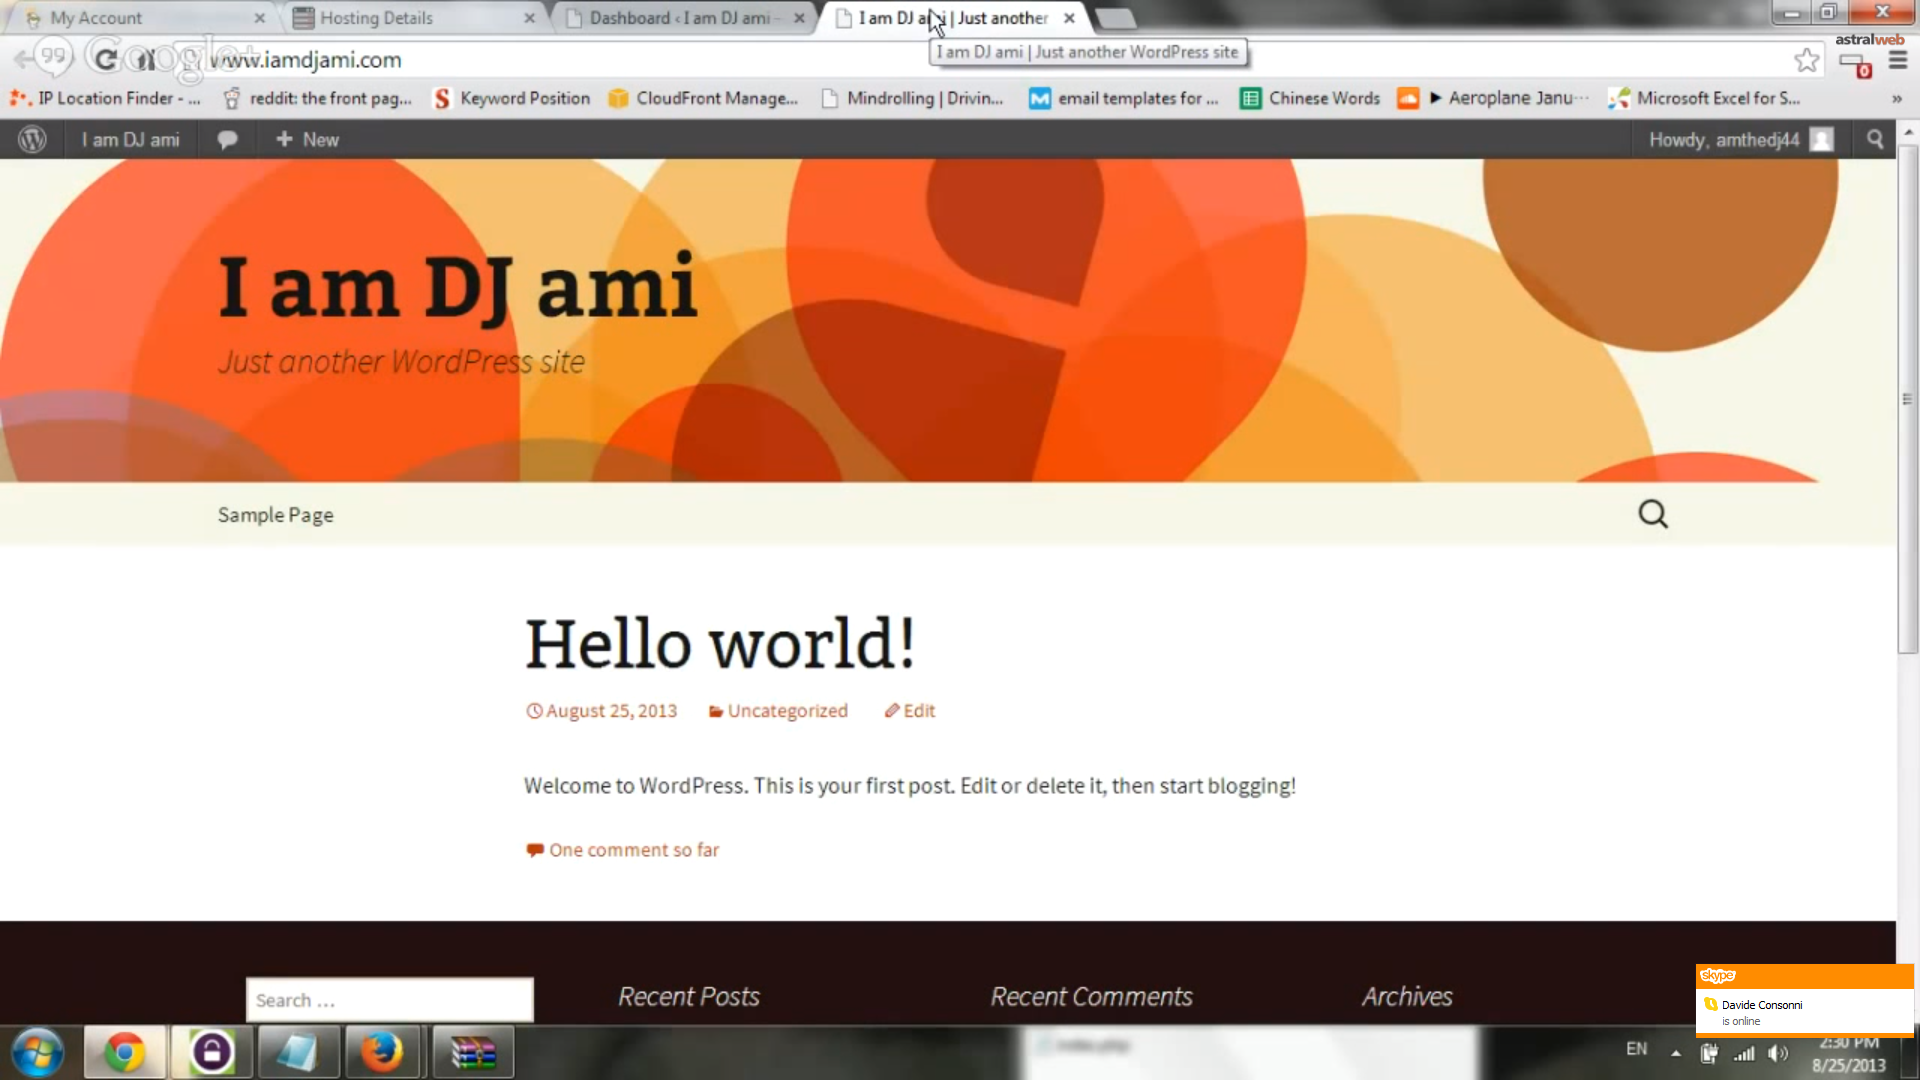
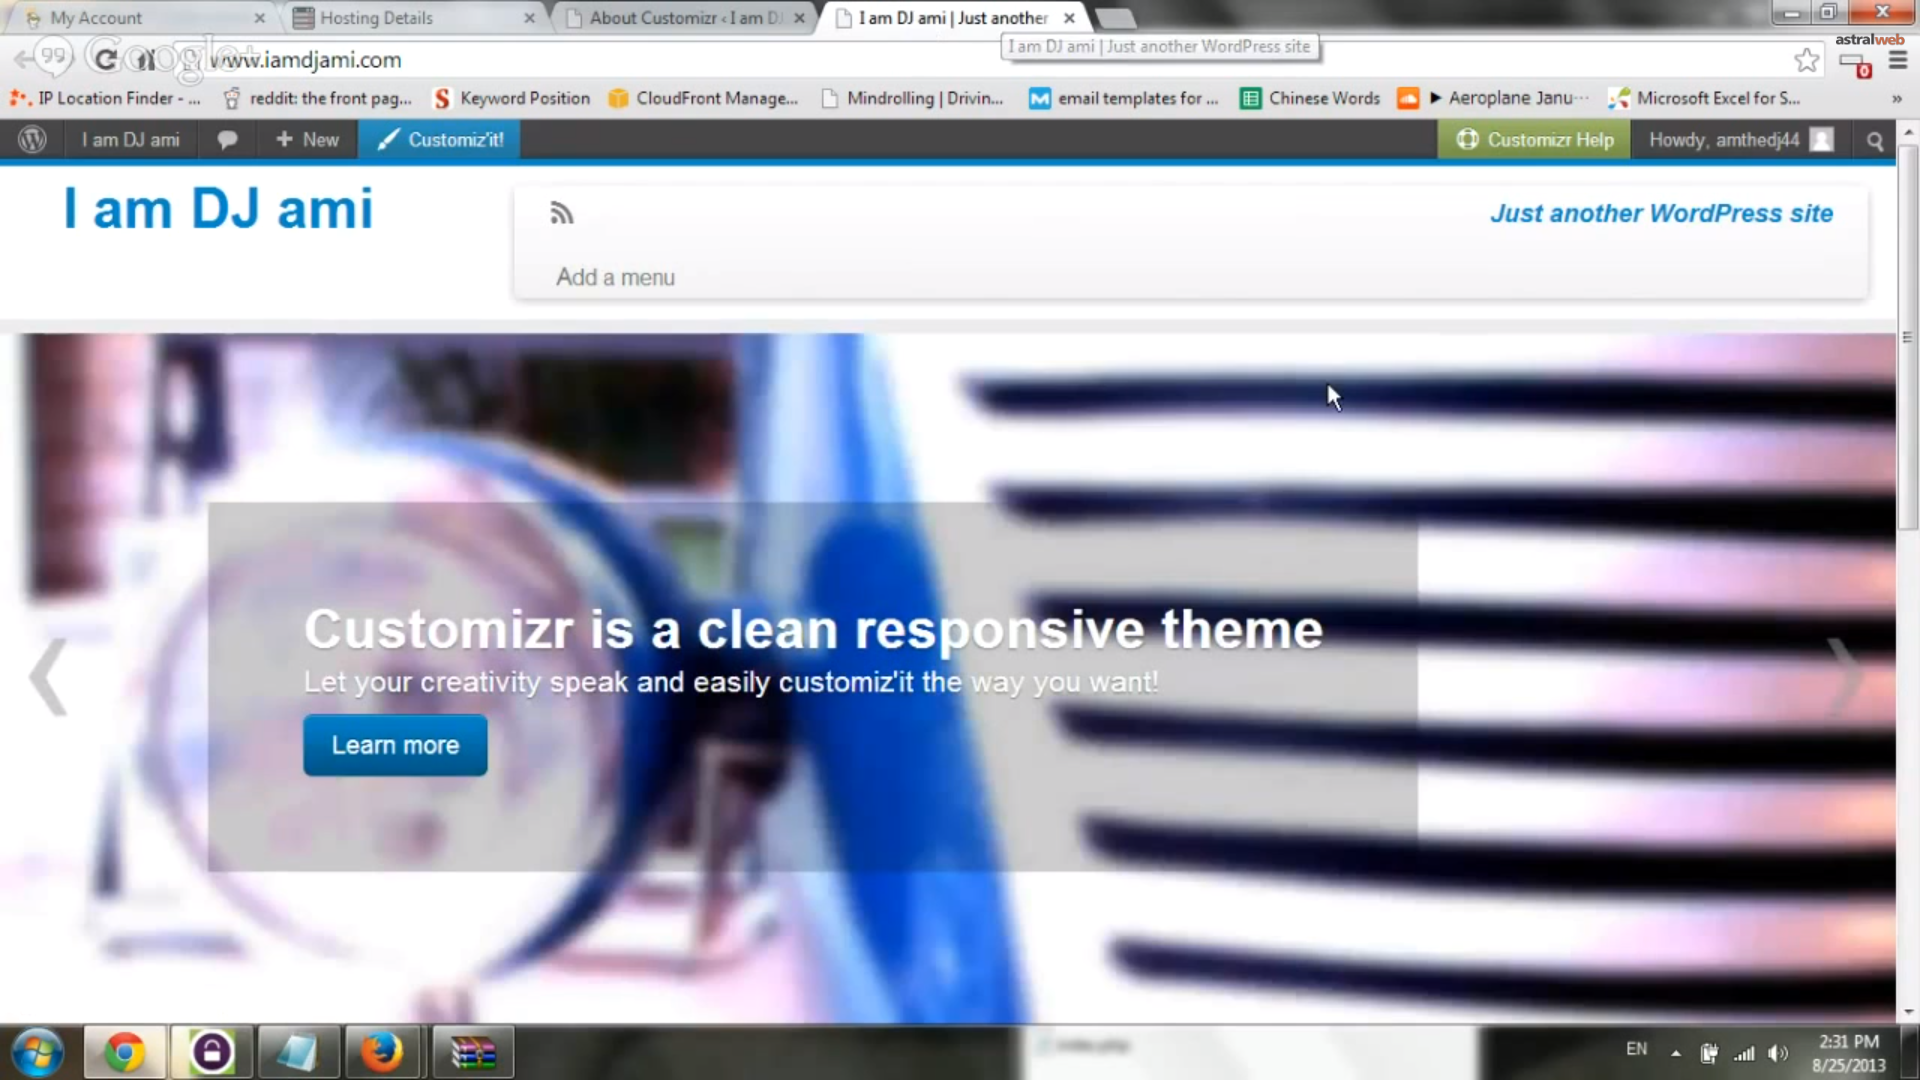
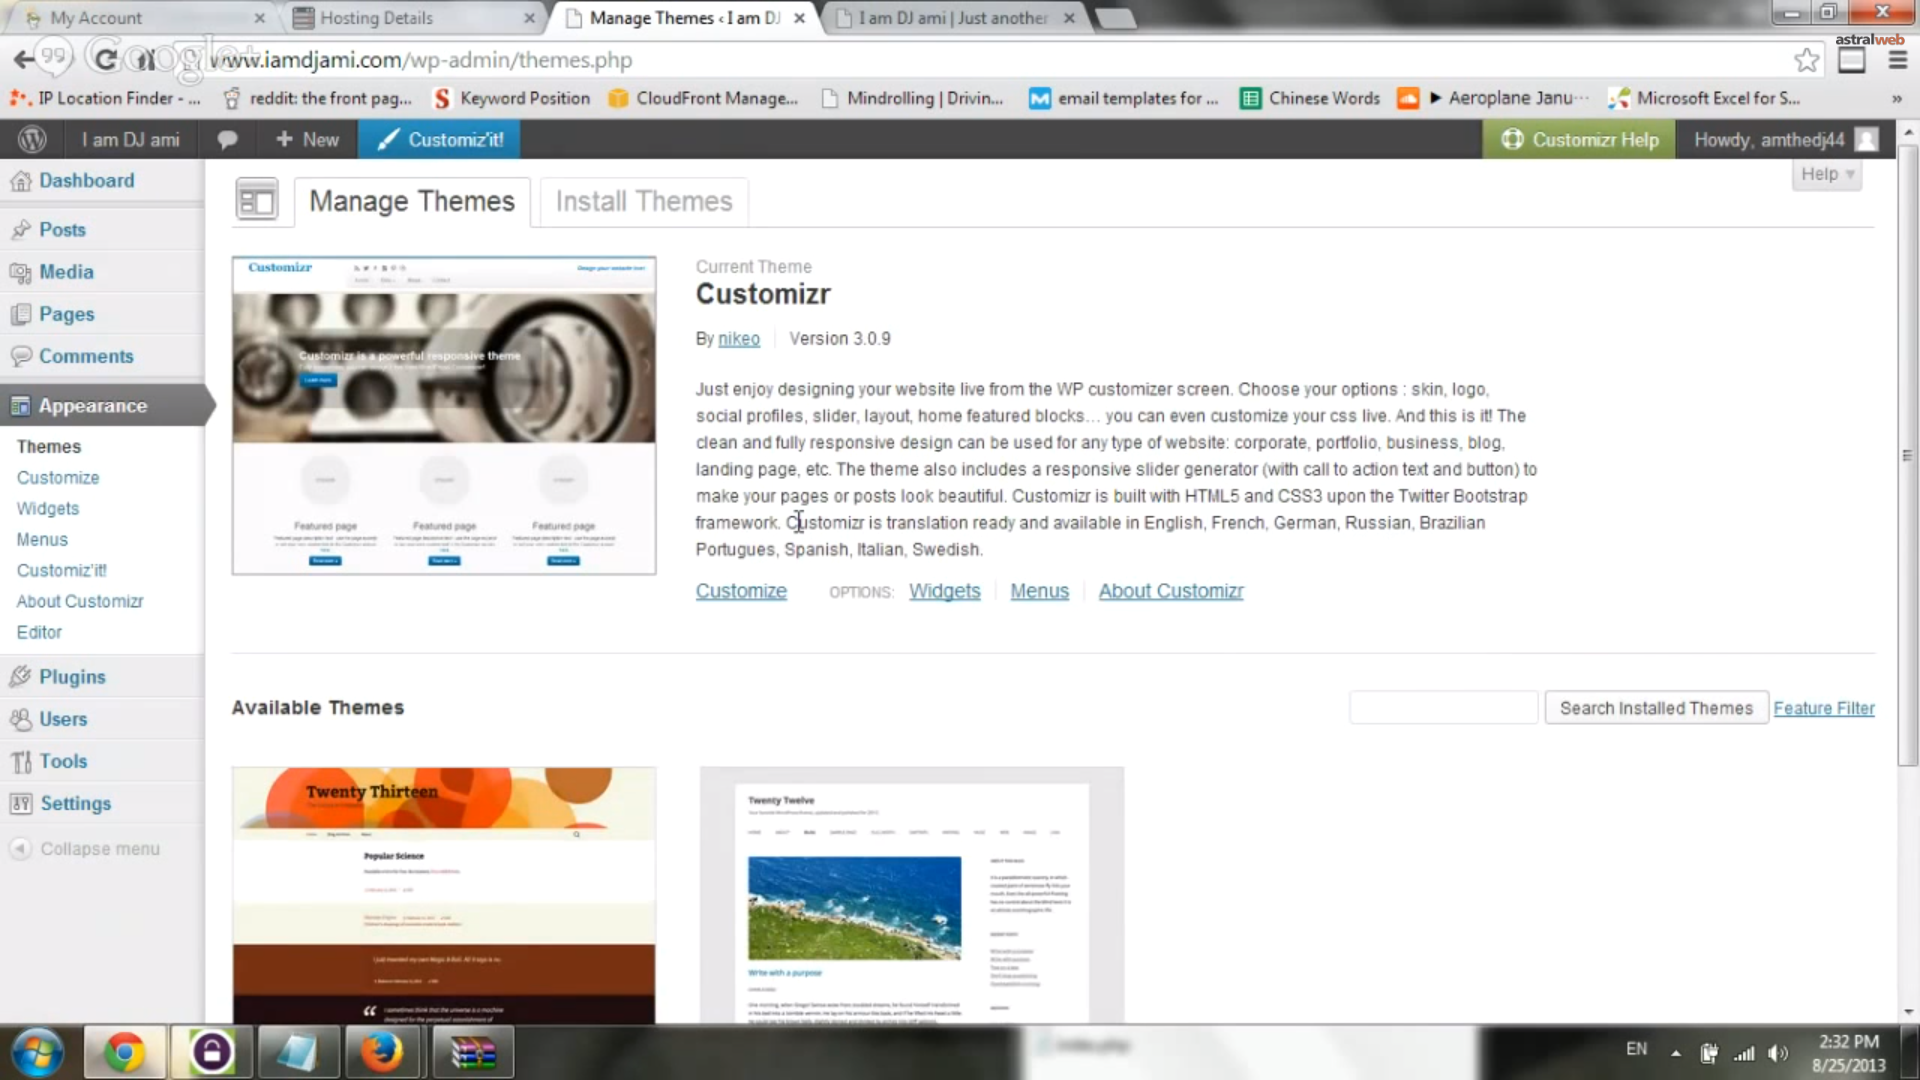
Step 5: Login to Site and Test Site Live
Login to backend and view frontend to test site.
You’re awesome! You made it!!!
SEE OUR VIDEO
Video Transcription:
Community edition 1.7.0.2. just gonna start pretty simple. first thing we wanna do is got magentocommerce dot com. and go to download the actual files
you go to download community edition and we’re gonna go and download the 1.7.0.2 zip file. ok. click on download.
I’m gonna actually pause it because i’ve already downloaded it and we wanna speed up this video a little bit so people dont get bored.
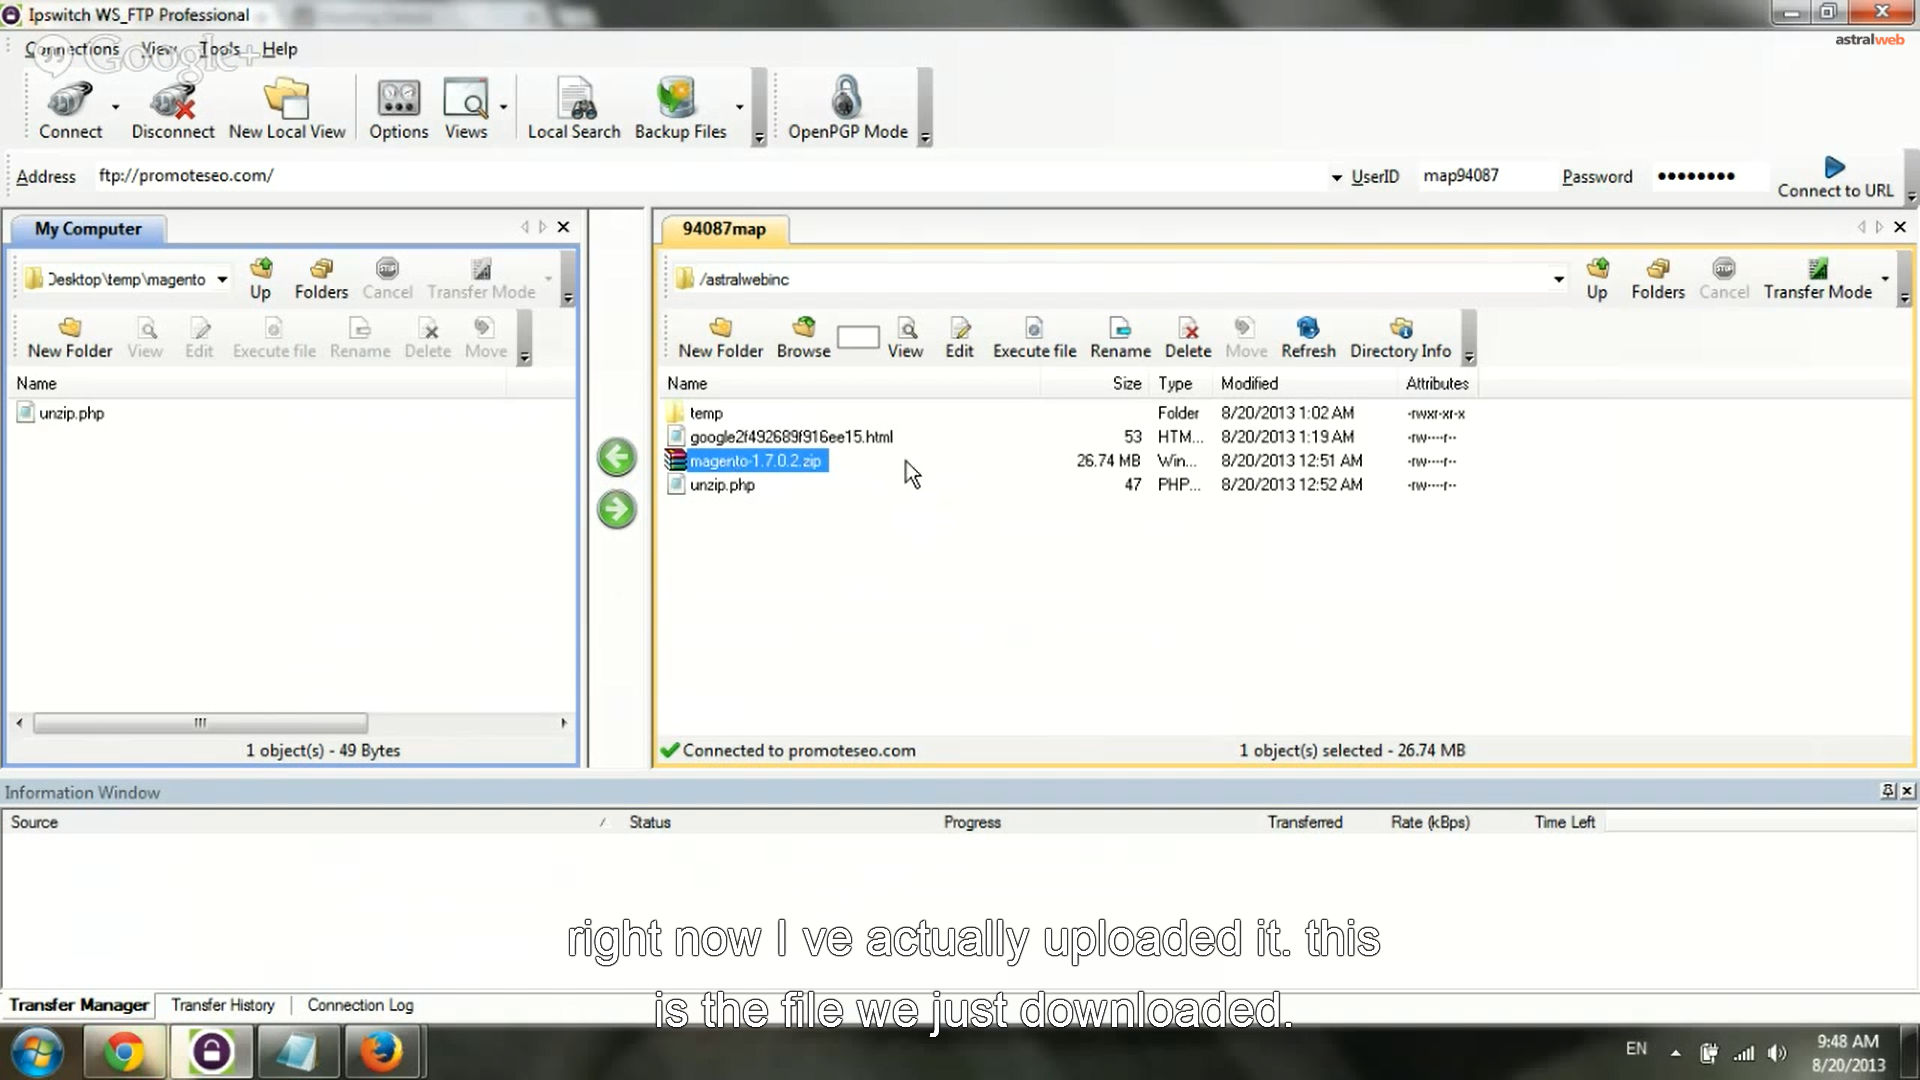
the next step we wanna do is use our favorite FTP client, right now I’m using WS FTP, there’s some free ones.
but just go ahead upload zip to your server. right now I ve actually uploaded it. this is the file we just downloaded.
What I wanna do is actually do one more thing to save a little time which is instead of just unzipping the magento files on your computer
and uploading all of them it’s much much easier & a lot quicker to keep the zip file on your server and upload very simple unzip file in PHP
to unzip it and save a ton of time. probably about half an hour on my internet connection because there are so many magento files.
very simple, system unzip and file name. im gonna run the file name , we are gonna go to the browser. and unzip.
it will take a little time depending on the server you have. so this server currently is a shared server with godaddy. it’s pretty slow
but it will do the job for the installation. and we go over a few things. probably it will take 30 seconds or so , after we unzip, we just check it
and we go to the next step which is actually creating a database. so i’m actually gonna do the database right now and we will check it later to save some time.
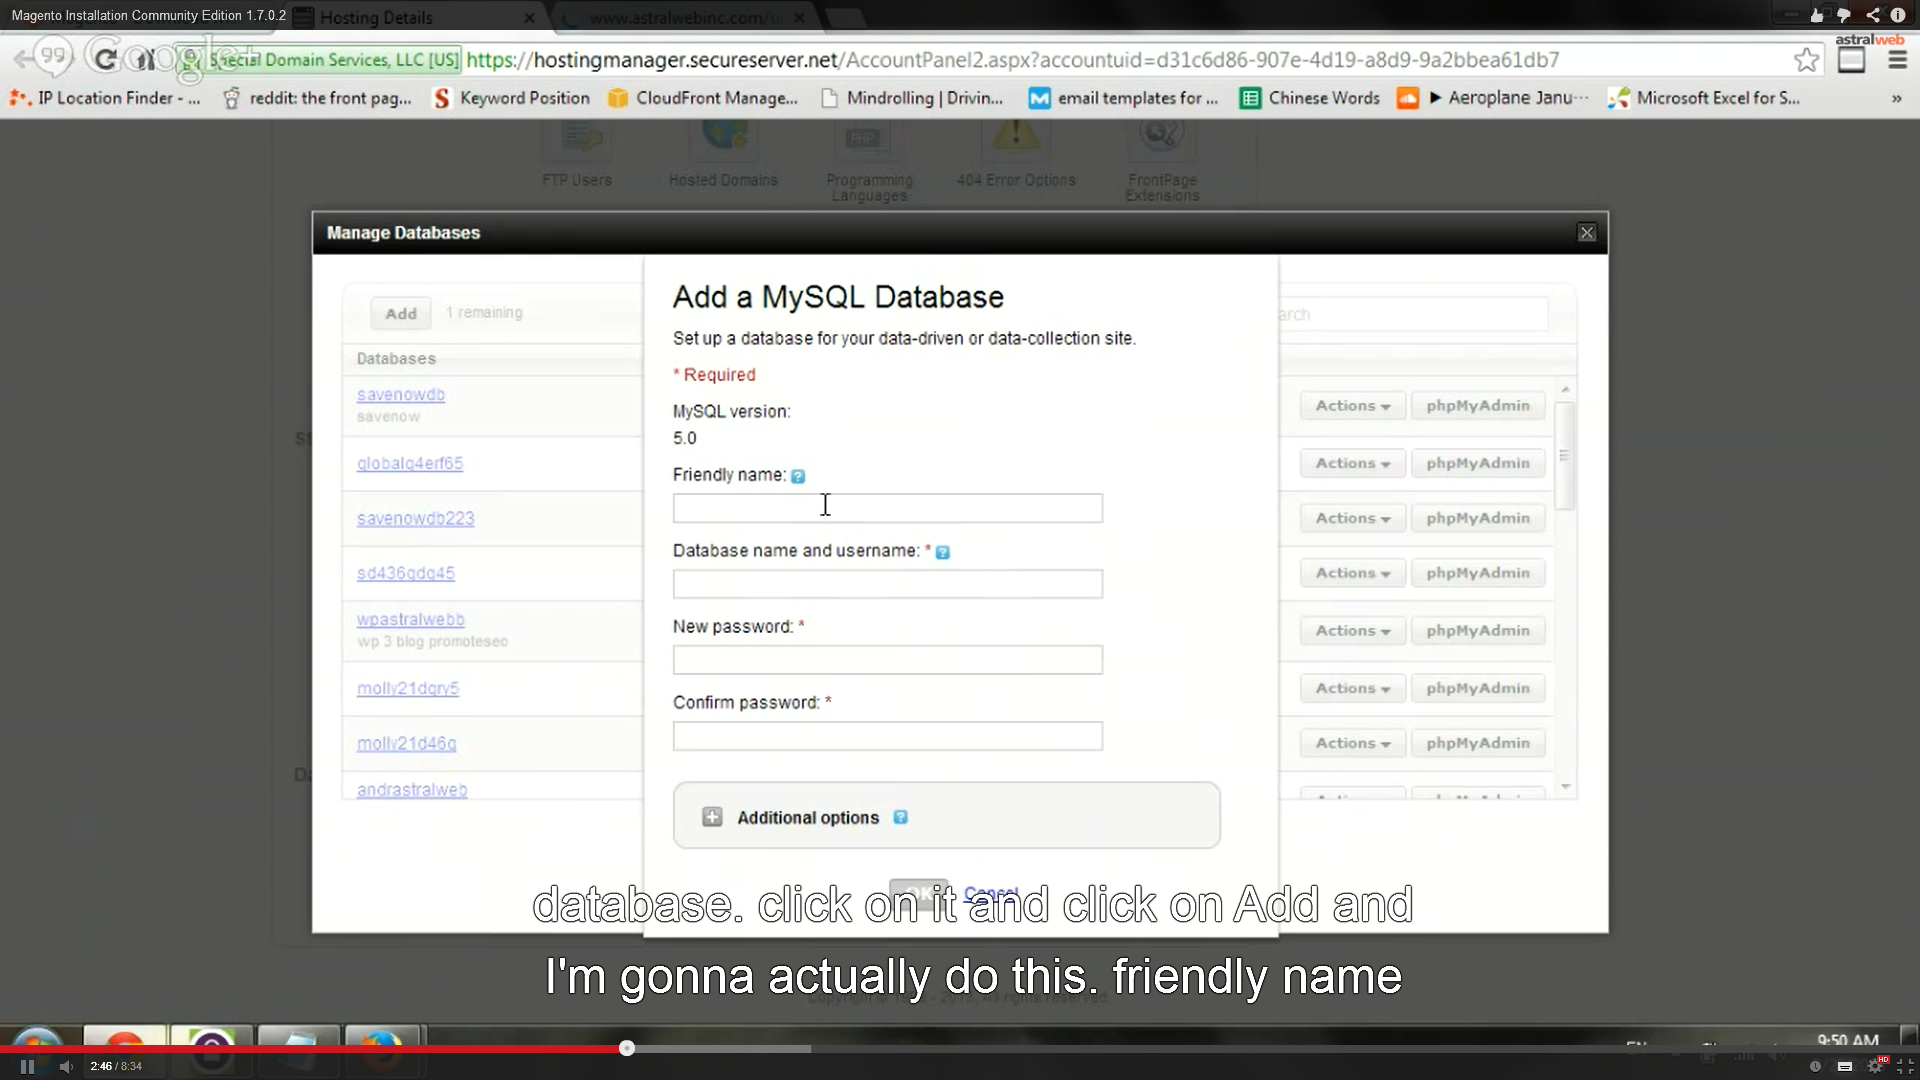
right now, i’m in godaddy hosting and just gonna select my hosting account just gonna select my hosting account and going to the bottom of the page to open my new mySQL
database. click on it and click on Add and I’m gonna actually do this. friendly name : magento community edition test. and database name : i’ve just created new one
ive already created the file which im keeping all the information. username and password and I’m gonna click on OK.
Ok you wanna obviously keep all this information in file so you can use it later on. so databases are being set up and it’s gonna take little time
lets go back, looks like everything was unzipped. you see there are a lot of files a lot of outputs, im gonna go refresh the server and i do see that
it opened inside Magento folder everything you need. cool. so now you wanna go back and get the information from the database and start the installation. it’s very very simple.
so lets go back. it’s still pending set up, we are gonna wait a few more seconds , just one more thing , it’s pending. what i wanna mention is this
installation is just for installing on the server. we didn’t install any test data which is gonna be another video we are gonna create.
looks like it finished, oh actually it didn’t. we are gonna wait a little while. while we wait, what we gonna do is go to the installation,
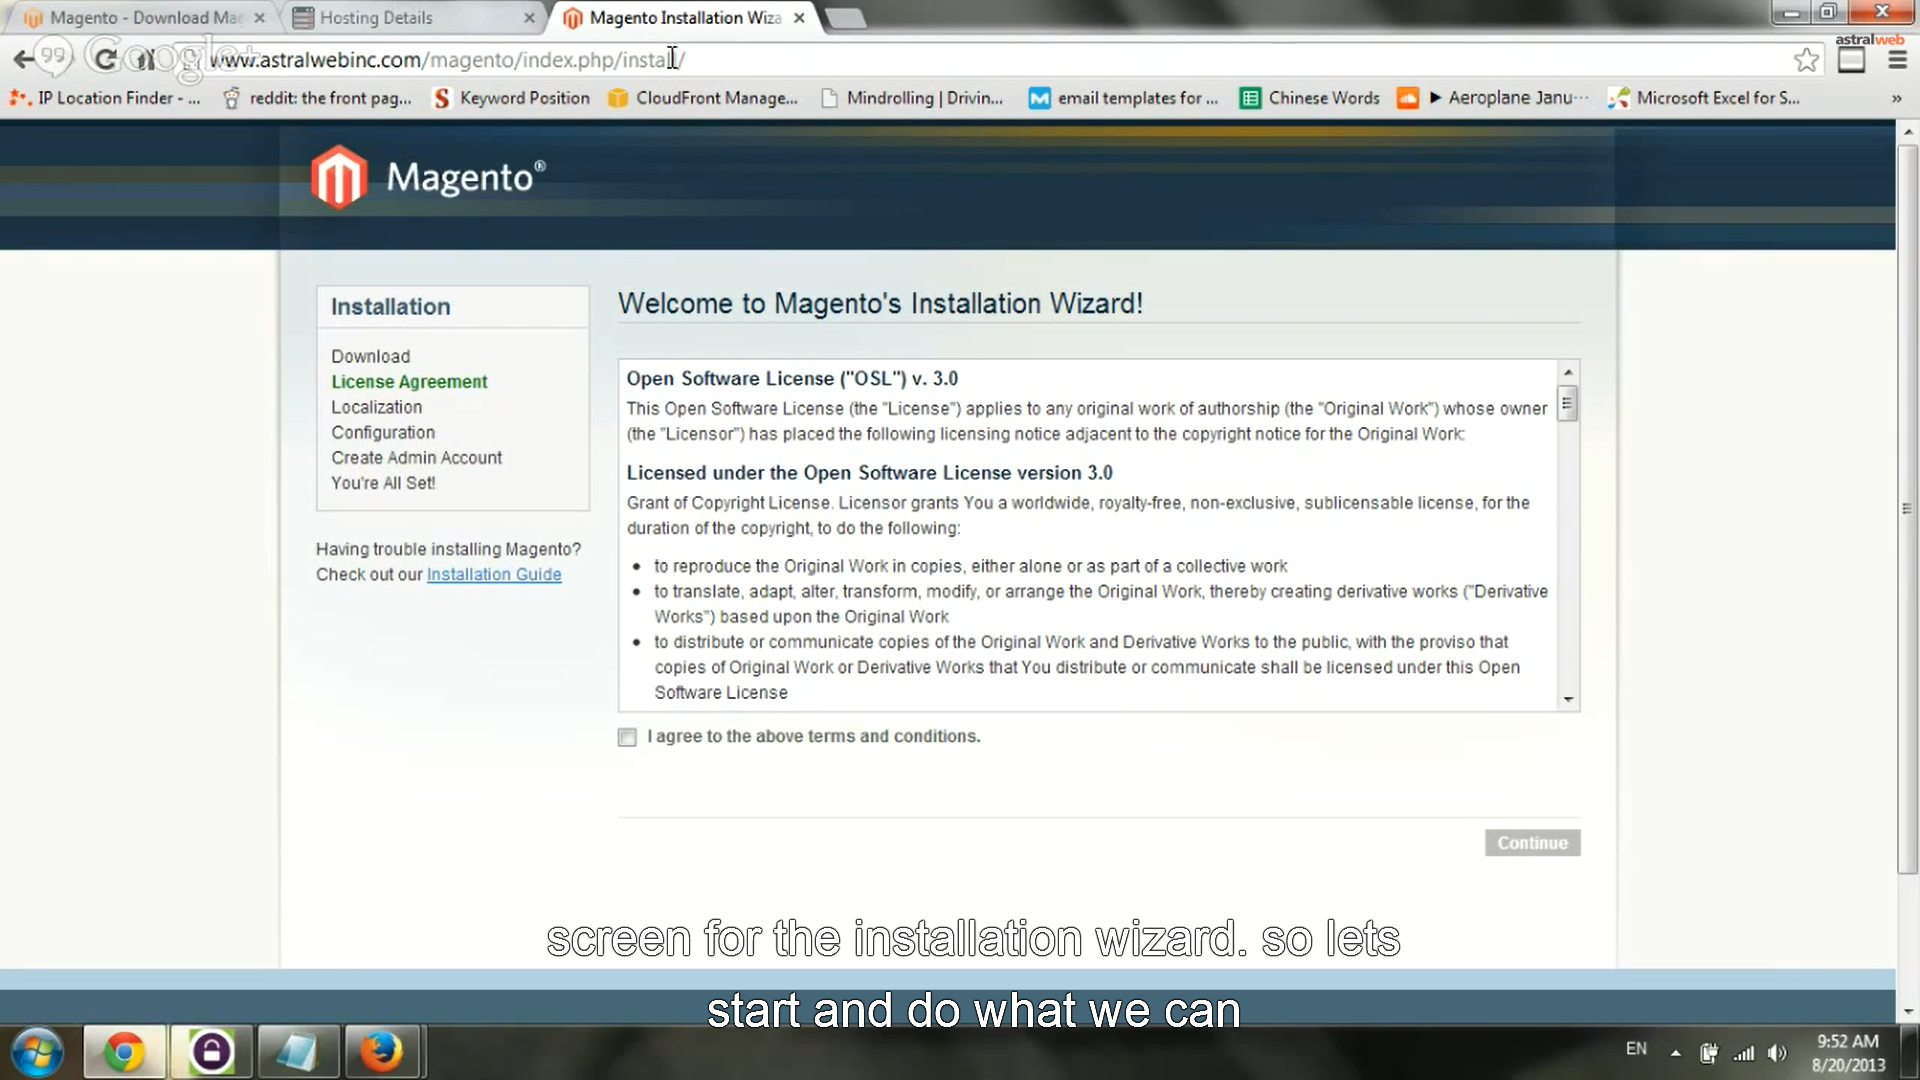
start the next step. so the folder that we did was slash magento and this is our first screen for the installation wizard. so lets start and do what we can
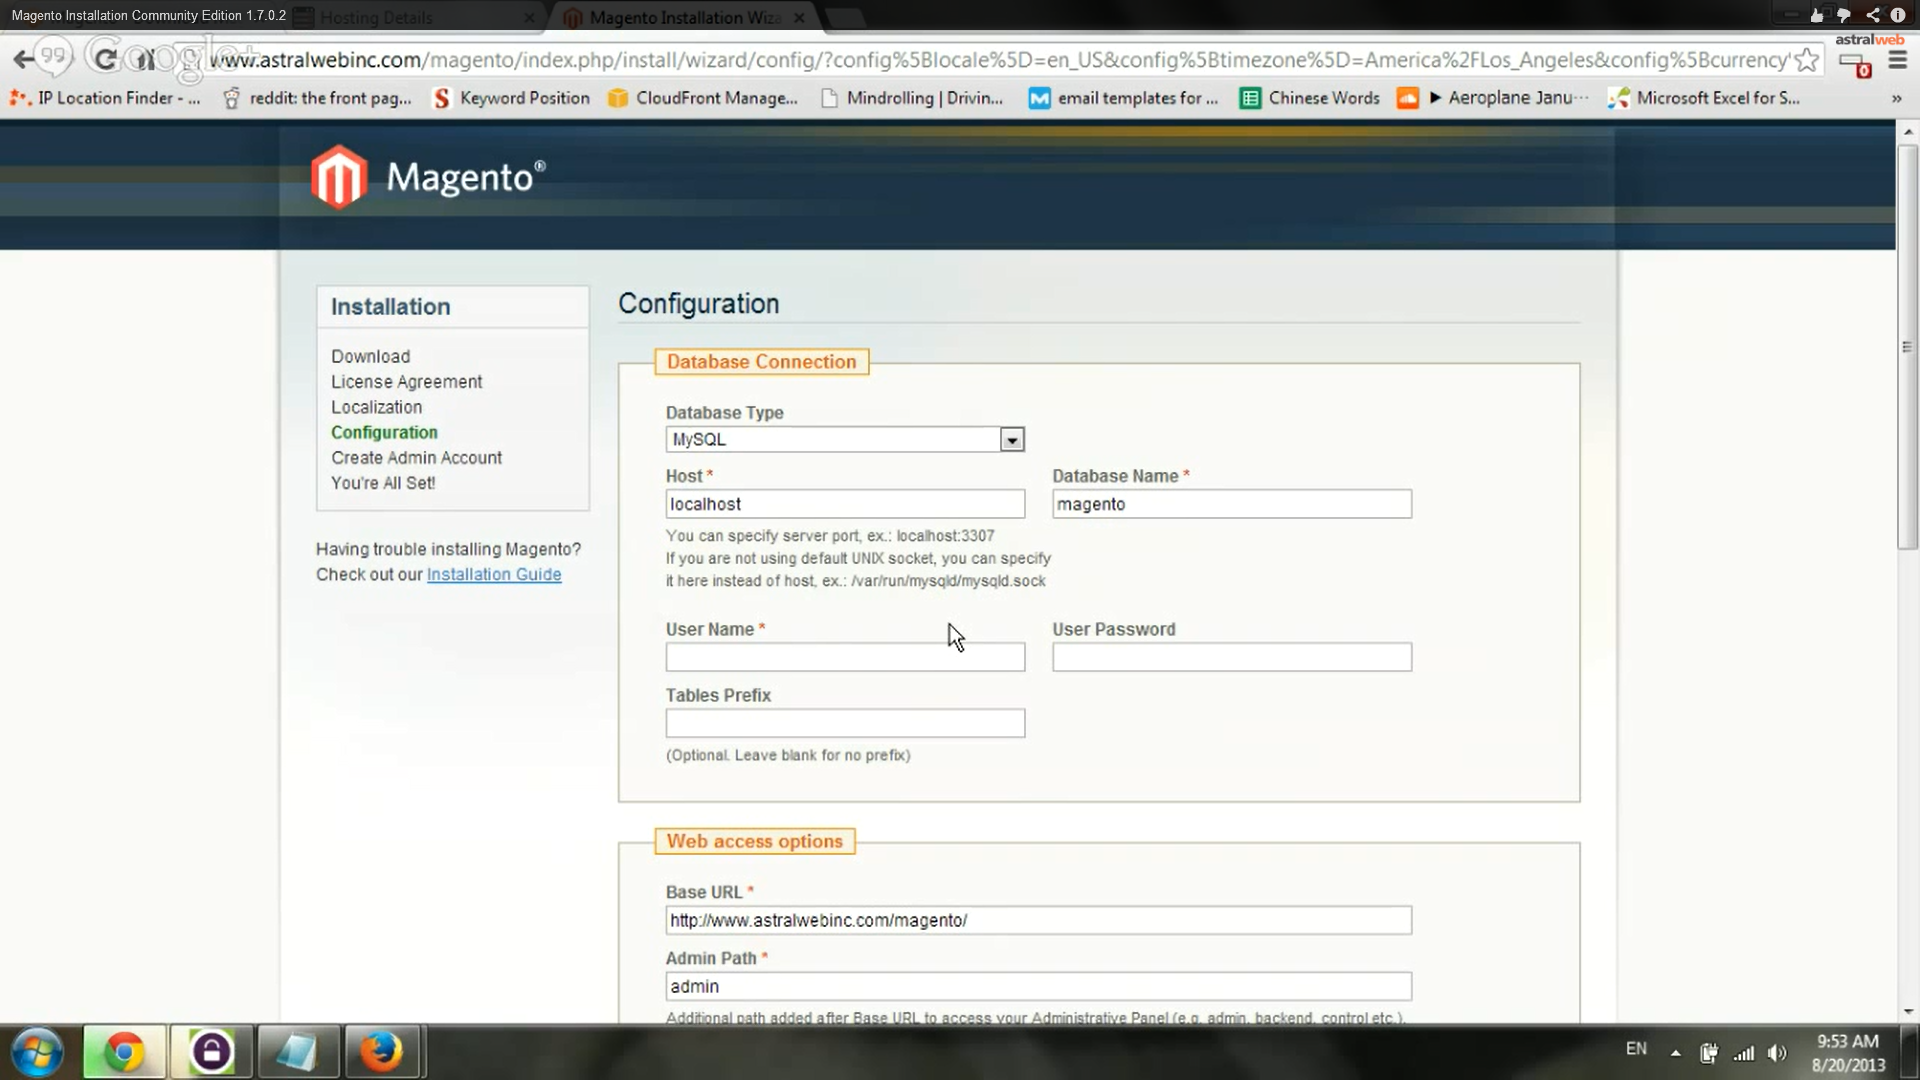
until the database finish installing. 1st step. localization for me English. La is good. US dollar currency and the database information. so, lets go back
and get the info here try to refresh it and see. they are still pending setup. lets put whatever we can. go to godaddy specifically their database
and username is were the same for shared hosting. im gonna put that. password. and we need to wait for the local host causein the shared hosting is not on the
local host and it use completely different URL. OK. and in the meantime this is our base URL and it’s fine, for default we keep everything the same.
obviously later on you wanna include an SSL, and everything default is gonna be fine. just for quick installation. ok so all we need is the host name.
obviously the godaddy hosting is a little slow. ok, we got it. what i wanna do is get the details of hosting right here and put it in my file as well
, and go here, hostname, and next step. ok so now it’s just installing the database , putting all the info we need, it should take few more seconds and we are
gonna be able to get to the last step which is just to confirm if the website look good, cool, pretty basic stuff.
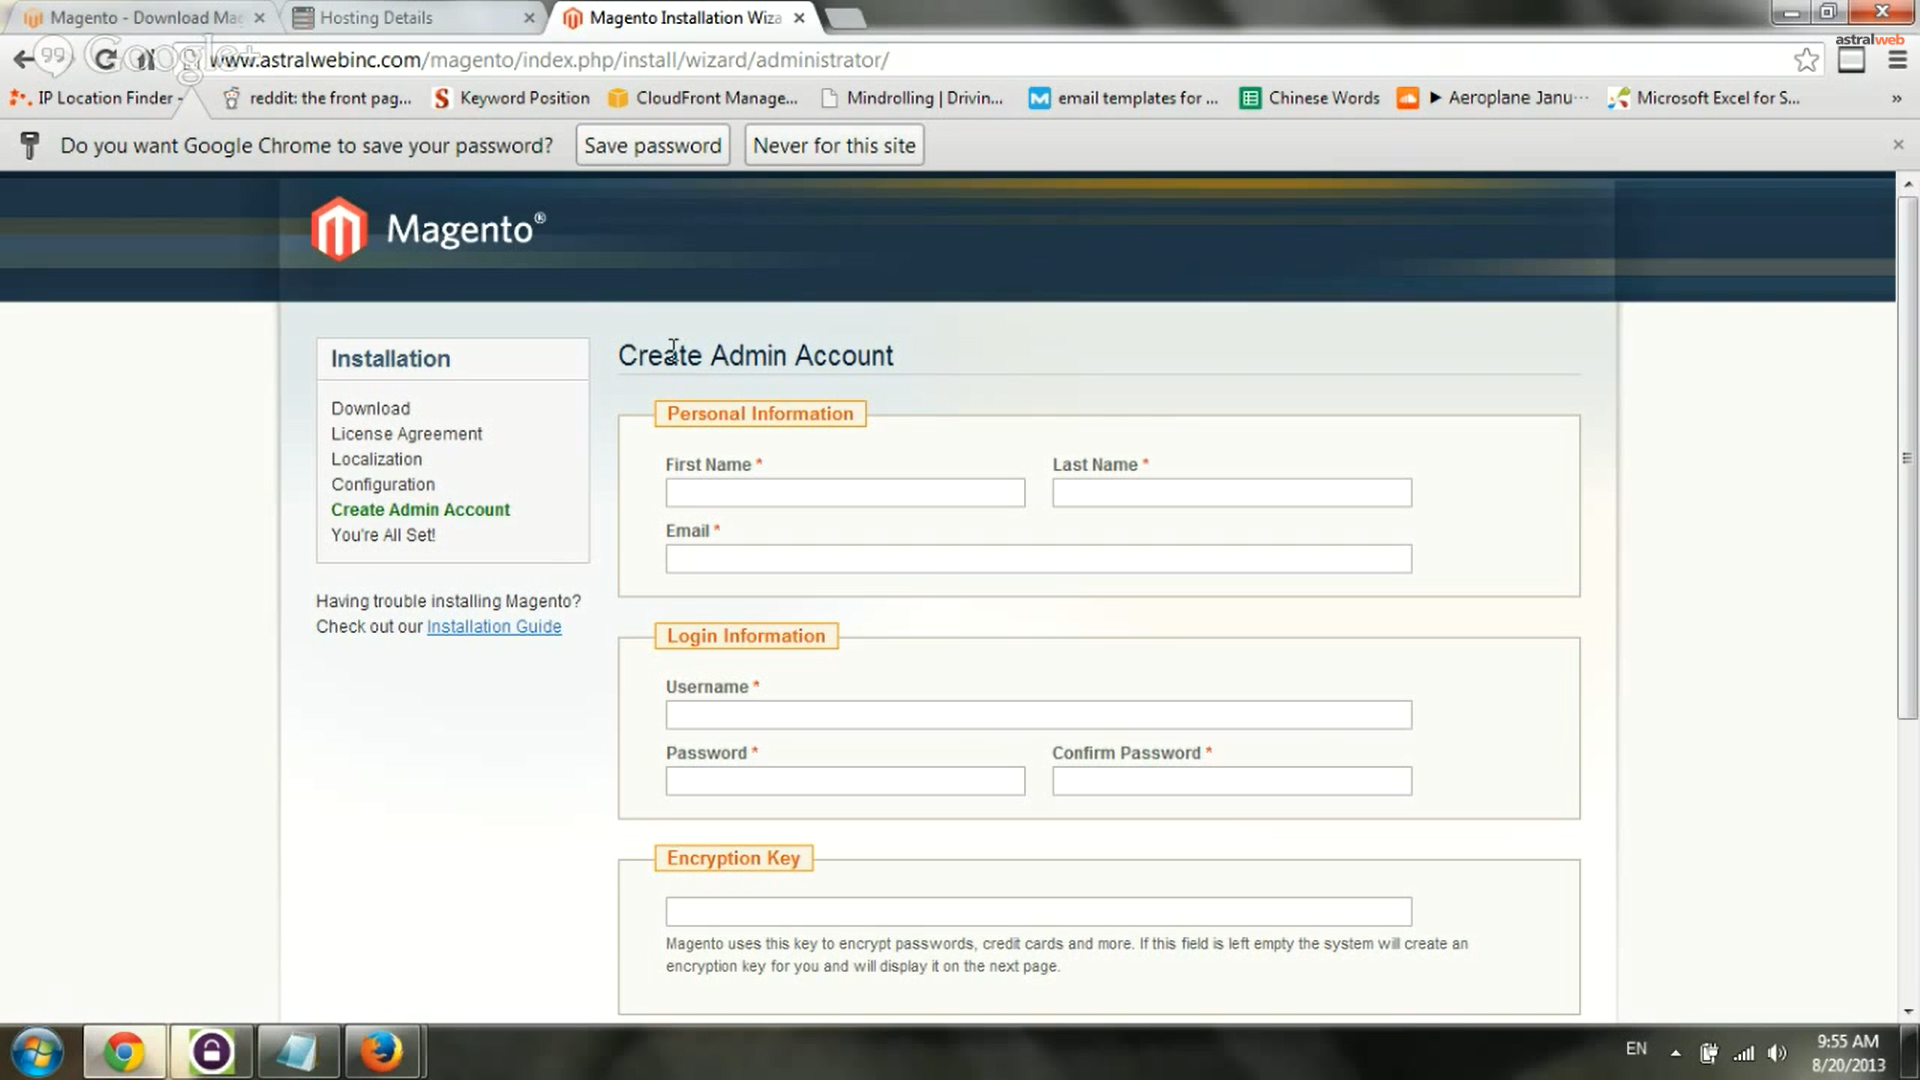
this is admin account, and we are almost finished. name, email, username, etc. and I’m gonna save this. for the encryption key we can let the system
create its own but we do need to save it. im gonna click on continue and im gonna save encryption key right here and just click on go to front-end.
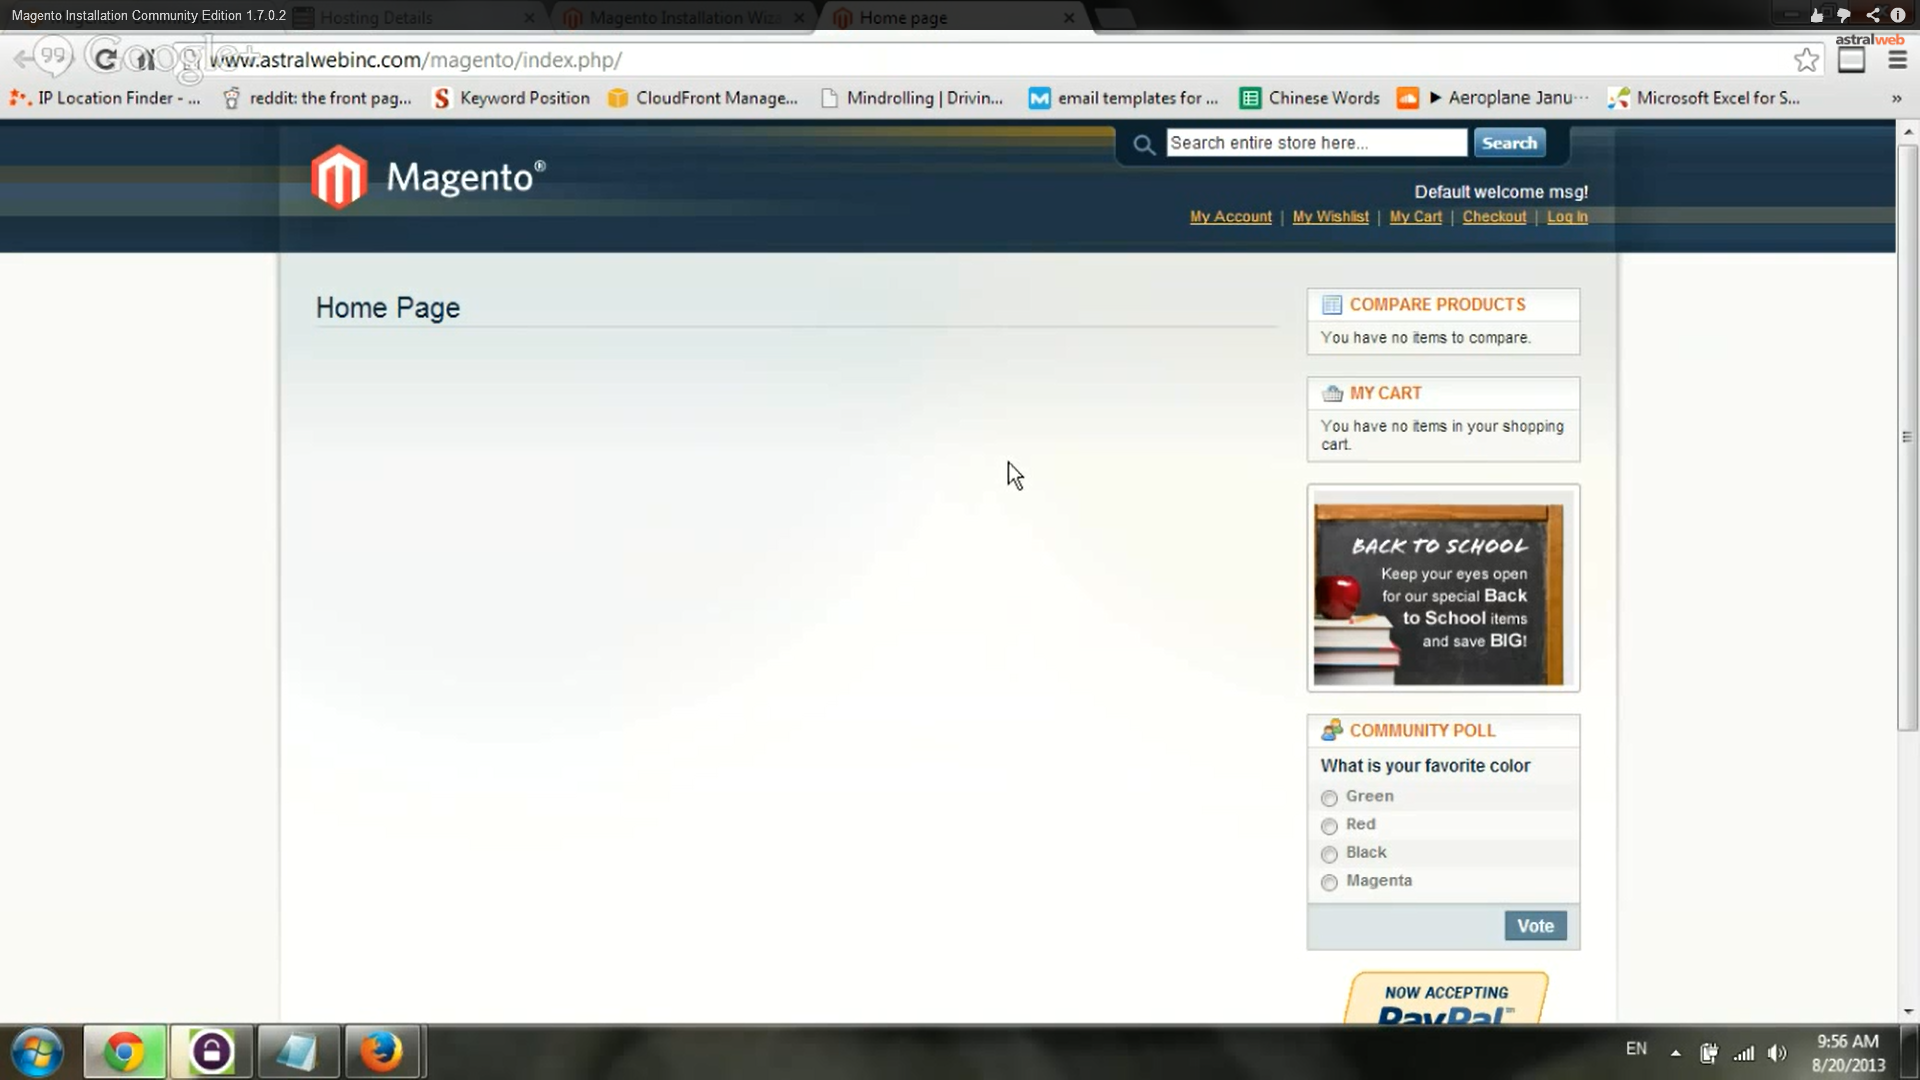
and the website is live that’s it everything works. we did quick installation. im gonna follow up with some more videos and also details
, screenshots, texts, more info on all the steps. hope you liked it. talk to you later. bye.