This article is a part of Astral Web’s Comprehensive Guide to JIRA!
Previously: 10 Getting Started with JIRA: User Interface
What is an Agile Workflow?
An agile workflow is a project management style that takes an iterative approach to development where regular feedback is folded into intervals of work called sprints. This is in contrast to a more traditional waterfall style workflow where development is based on set phases prior to launch (e.g. develop database, then back end, then frontend, etc.).
In an iterative, agile workflow, teams can be diverted to different issues while another part of the project is being resolved. Customers can also review more of the project throughout the development period, instead of waiting until the very end of each phase.
Such workflow has both pros and cons, but in an ever changing web development environment, being agile and flexible is important to stay competitive. At Astral Web, our workflow is hybrid with our internal processes being iterative, but our reporting still shows traditional development phases, such as “Design Phase”, “Development Phase”, and “QA Phase”. We maintain milestones for our clients, but internally we are working with multiple components and schedules simultaneously.
Your JIRA workflows are setup, and your team members are ready to manage tasks. If you haven’t yet, it’s time to create a new project with all your customized settings configured.

Atlassian is continuously updating new JIRA Cloud project features, so please see their latest notes on the options available.
Everything you want to know about next-gen projects in Jira Cloud
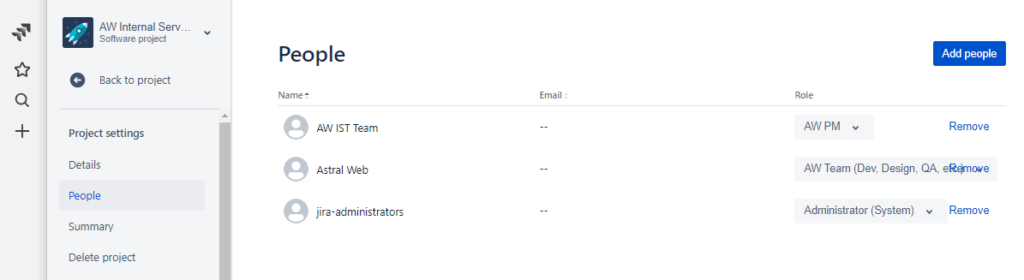
Otherwise, adding people, setting issues and workflows, and other general settings should be the same. Please go through each tab to check defaults or switch to any custom configurations you have made in the steps before.
For more details on workflows, checkout our previous article: Before You Start Using Atlassian JIRA Part 2: Create A Master Workflow For Your Business
Create an Issue
If your project is set up, you can finally begin to create and assign tasks.
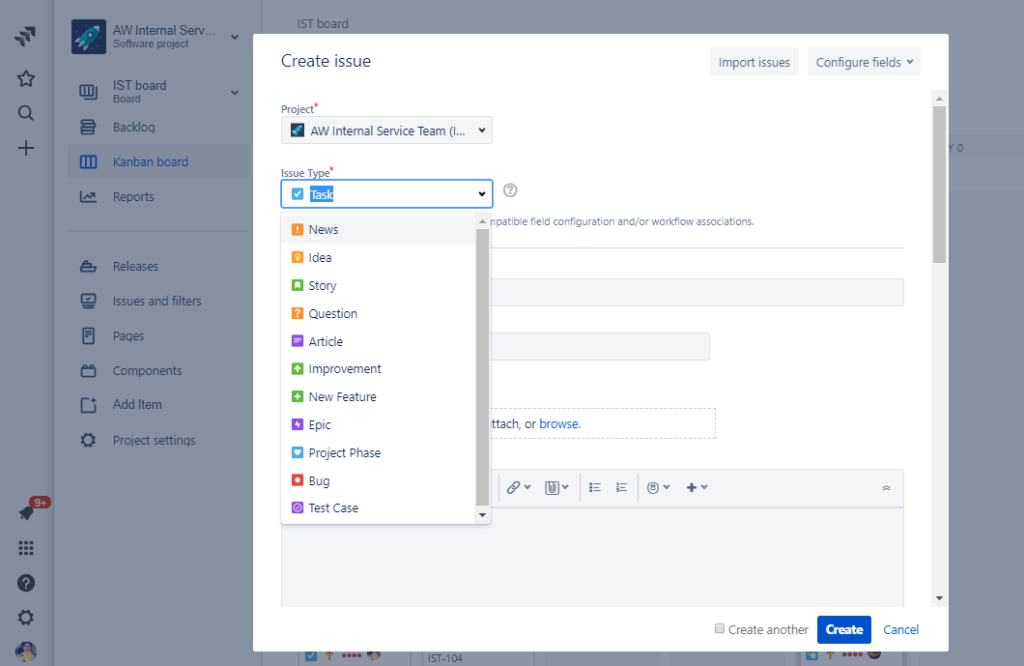
Either start from your project or your dashboard and select the “+” icon on the very left menu bar. If you started from your dashboard, you will need to select the correct Project to create the issue.
Next, select the issue type. Our maser workflow contains multiple types of issues, and each issue has its own custom workflow in alignment with the master workflow. This is because, some issues have higher priority or different steps. For example, if we find a bug, we never want this issue to start from a backlog and sit there until someone moves it forward. We want bugs to be flagged immediately and ready for review by project managers.
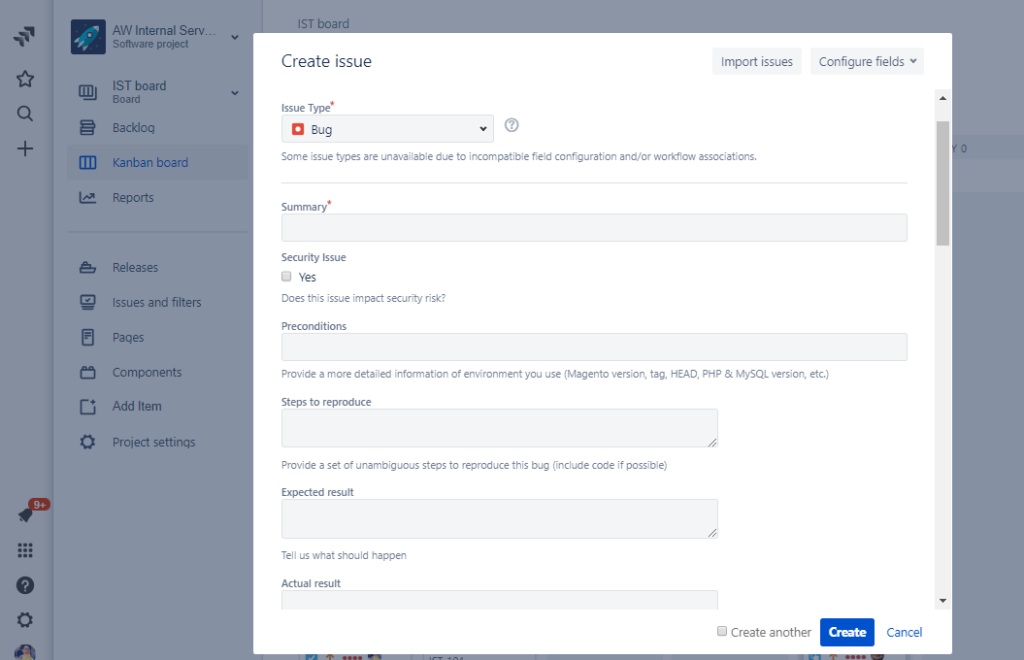
We also customized what field should be inputted by the reporter for each type of issue. This helps reporters to complete details without missing anything. A general task would only have a Summary and space to describe the task, but Bugs require more details such as Preconditions, Steps to reproduce, and Expected results.
Editing an Issue
Your new issue should be under the Backlog section, or the location defined as the issue type’s starting point within your workflow.
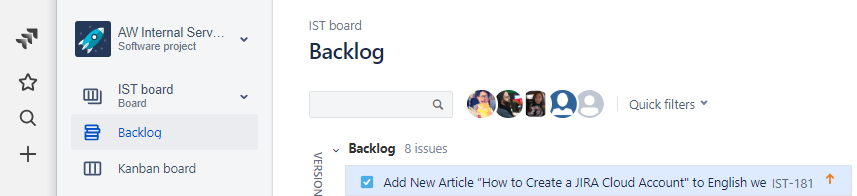
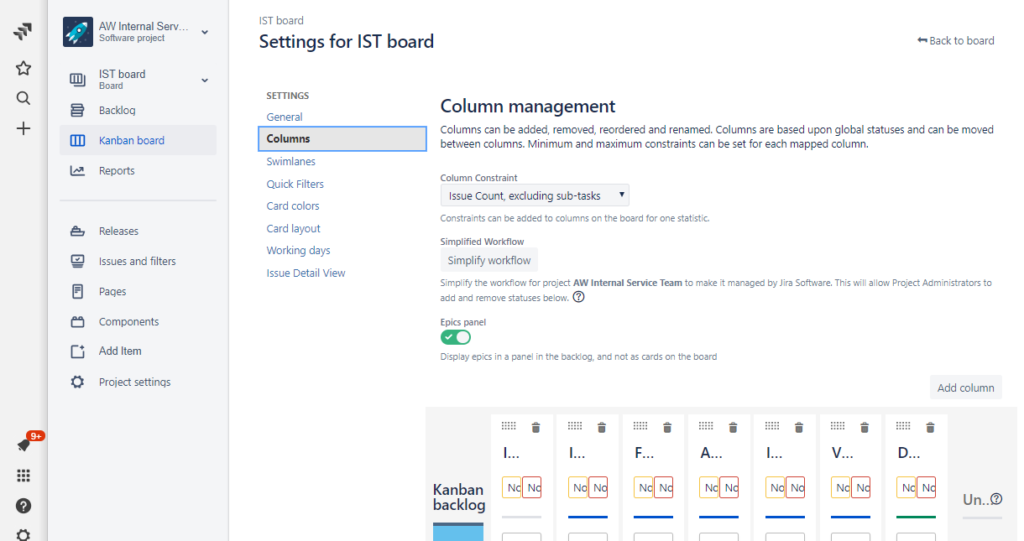
Backlog issues may not show inside your Kanban board if you did not set up your Kanboard board to display Backlog. Also, you may not have a Backlog tab if you did not set up Backlogs. These can be changed in the Kanban Board settings accessed from the top right “…” option on your Kanban board and go to “Board Settings”.
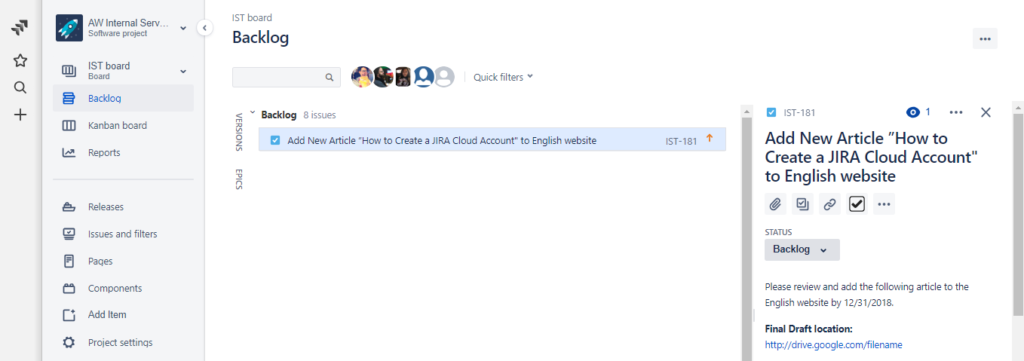
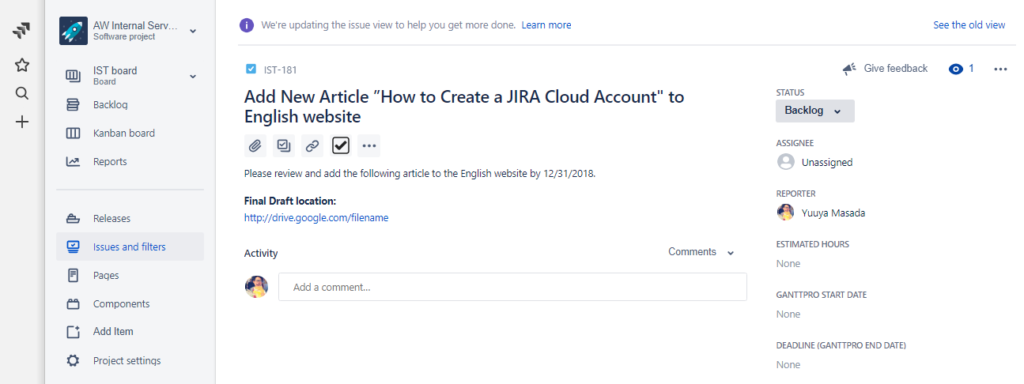
To edit your issue, you can simply select it to see a mini-view inside your browser. You will be able to change the basic options such as comment, change status, or access your plugins. If you need to change the content of the issue, as long as you are the reporter or admin of the project, you will be able to click any of the fields to make changes.
You can also see the issue on a full page by clicking the issue ID.
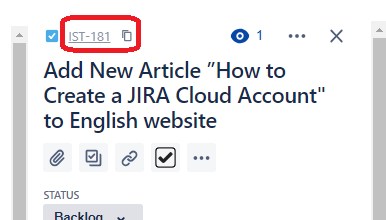
You may see this page first, if you have accessed the issue from other methods instead of the backlog section.
Moving an Issue
You can visually move an issue from status to status on your Kanban board.
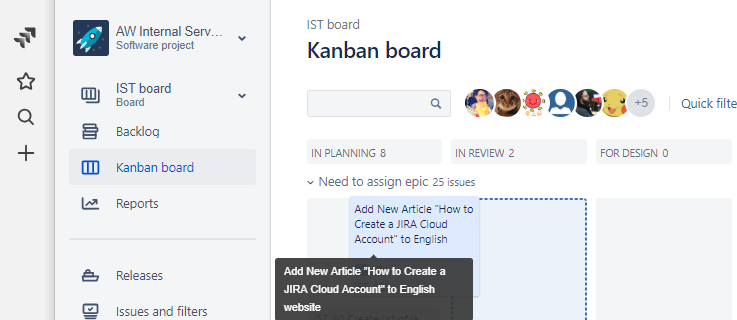
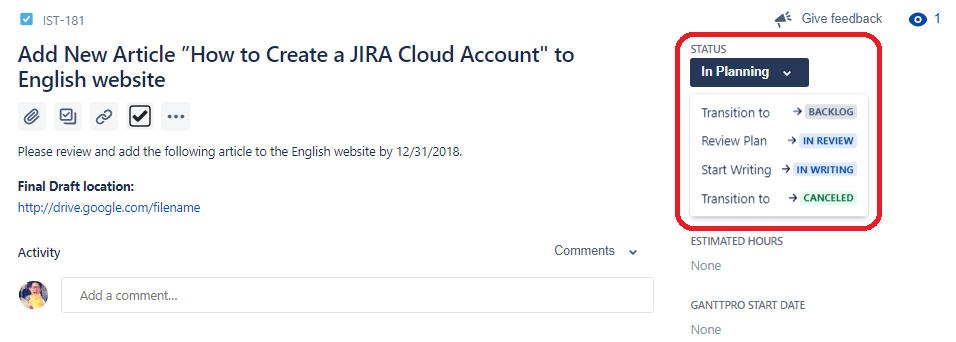
This is an alternative to selecting your issue status from the issue status dropdown inside your issue details. The mobile JIRA Cloud app, you will only have the select from dropdown option, unless your version supports touch and drag on Kanban boards.
If you need to move an issue to another project, you can do so from the issue details page and select the “…” menu and choose “Move”.

You will go through administrative steps to transfer the data to other projects.
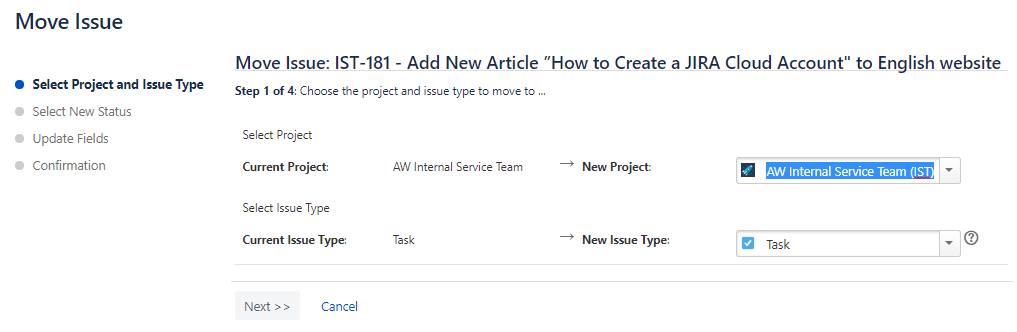
We will cover more of these administrative options in future articles!


