This article is for a Adwords MCC admins and explains how to guide your client to share their adwords account with an Adwords My Client Center Account.
Step 1: Ask for Client Account ID
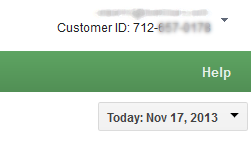
You will want to ask your client to login to their adwords account (adwords.google.com) and look at the top right hand corner of the screen and let you know their account id / customer id
Step 2: Link Account and Request Access
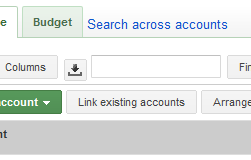
a. Login to your MCC account and click on “Link Existing Accounts”.
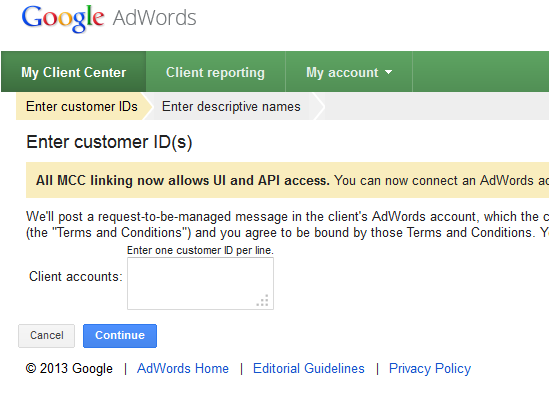
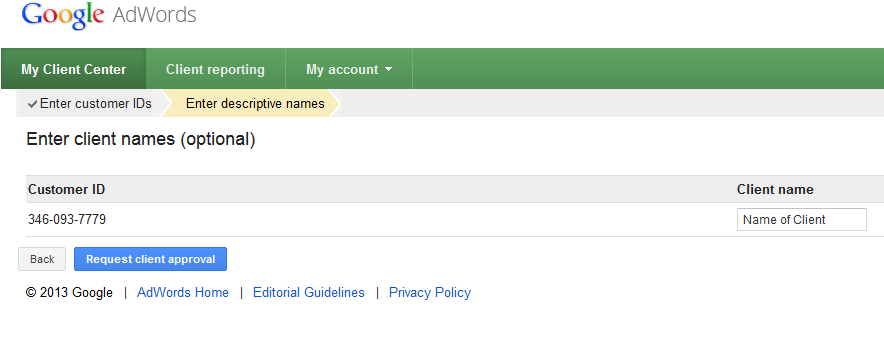
b. Enter Account Id and Name Account
Enter account id which you have received from client and follow the 2 steps
Step 3 – Ask Client to Approve Account
Call or email your client and ask them to:
a. Login to adwords
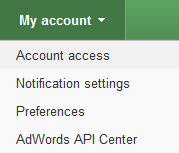
b. Click on “My account” tab -> “Account Access”
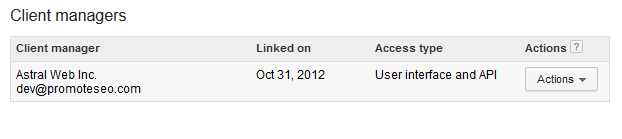
c. Go to “Client Managers” and click on “Actions” and Approve
That’s it!